Road Trips and Tiny Trailers
All you need for planning the best road trips in your tiny trailer!
BASIC PHOTO COMPOSITION TIPS
I work hard. Really hard. I am a novice photographer with a point-and-shoot camera, determined to make the most of my decision not to invest in a big bodied camera with accessories that I honestly don’t want to lug around.
As a result, I am in the process of learning to maximize my skills and make up for what my camera is not capable of.
This has proven to be a lot of work!
One of my first objectives was to really understand the rules of composition, because well, my photos seemed to lack that ‘certain something’ that I could not really identify. I purchased a book called BetterPhoto Basics (which I highly recommend) and started with the chapter on making better composition choices. There I found the 40 rules.
40??? Seriously? I have trouble remembering 3!
But working on my composition choices – even the most basic ones – has made a world of difference with the quality of my photos. I’d like to share with you my ‘Top Ten’. These are the composition tips that I primarily focus on, but if you can work with 40 different tips for great shots while you’re out on the road, then my hats off to you!
Okay. Here goes…
TIP #1: THE RULE OF THIRDS
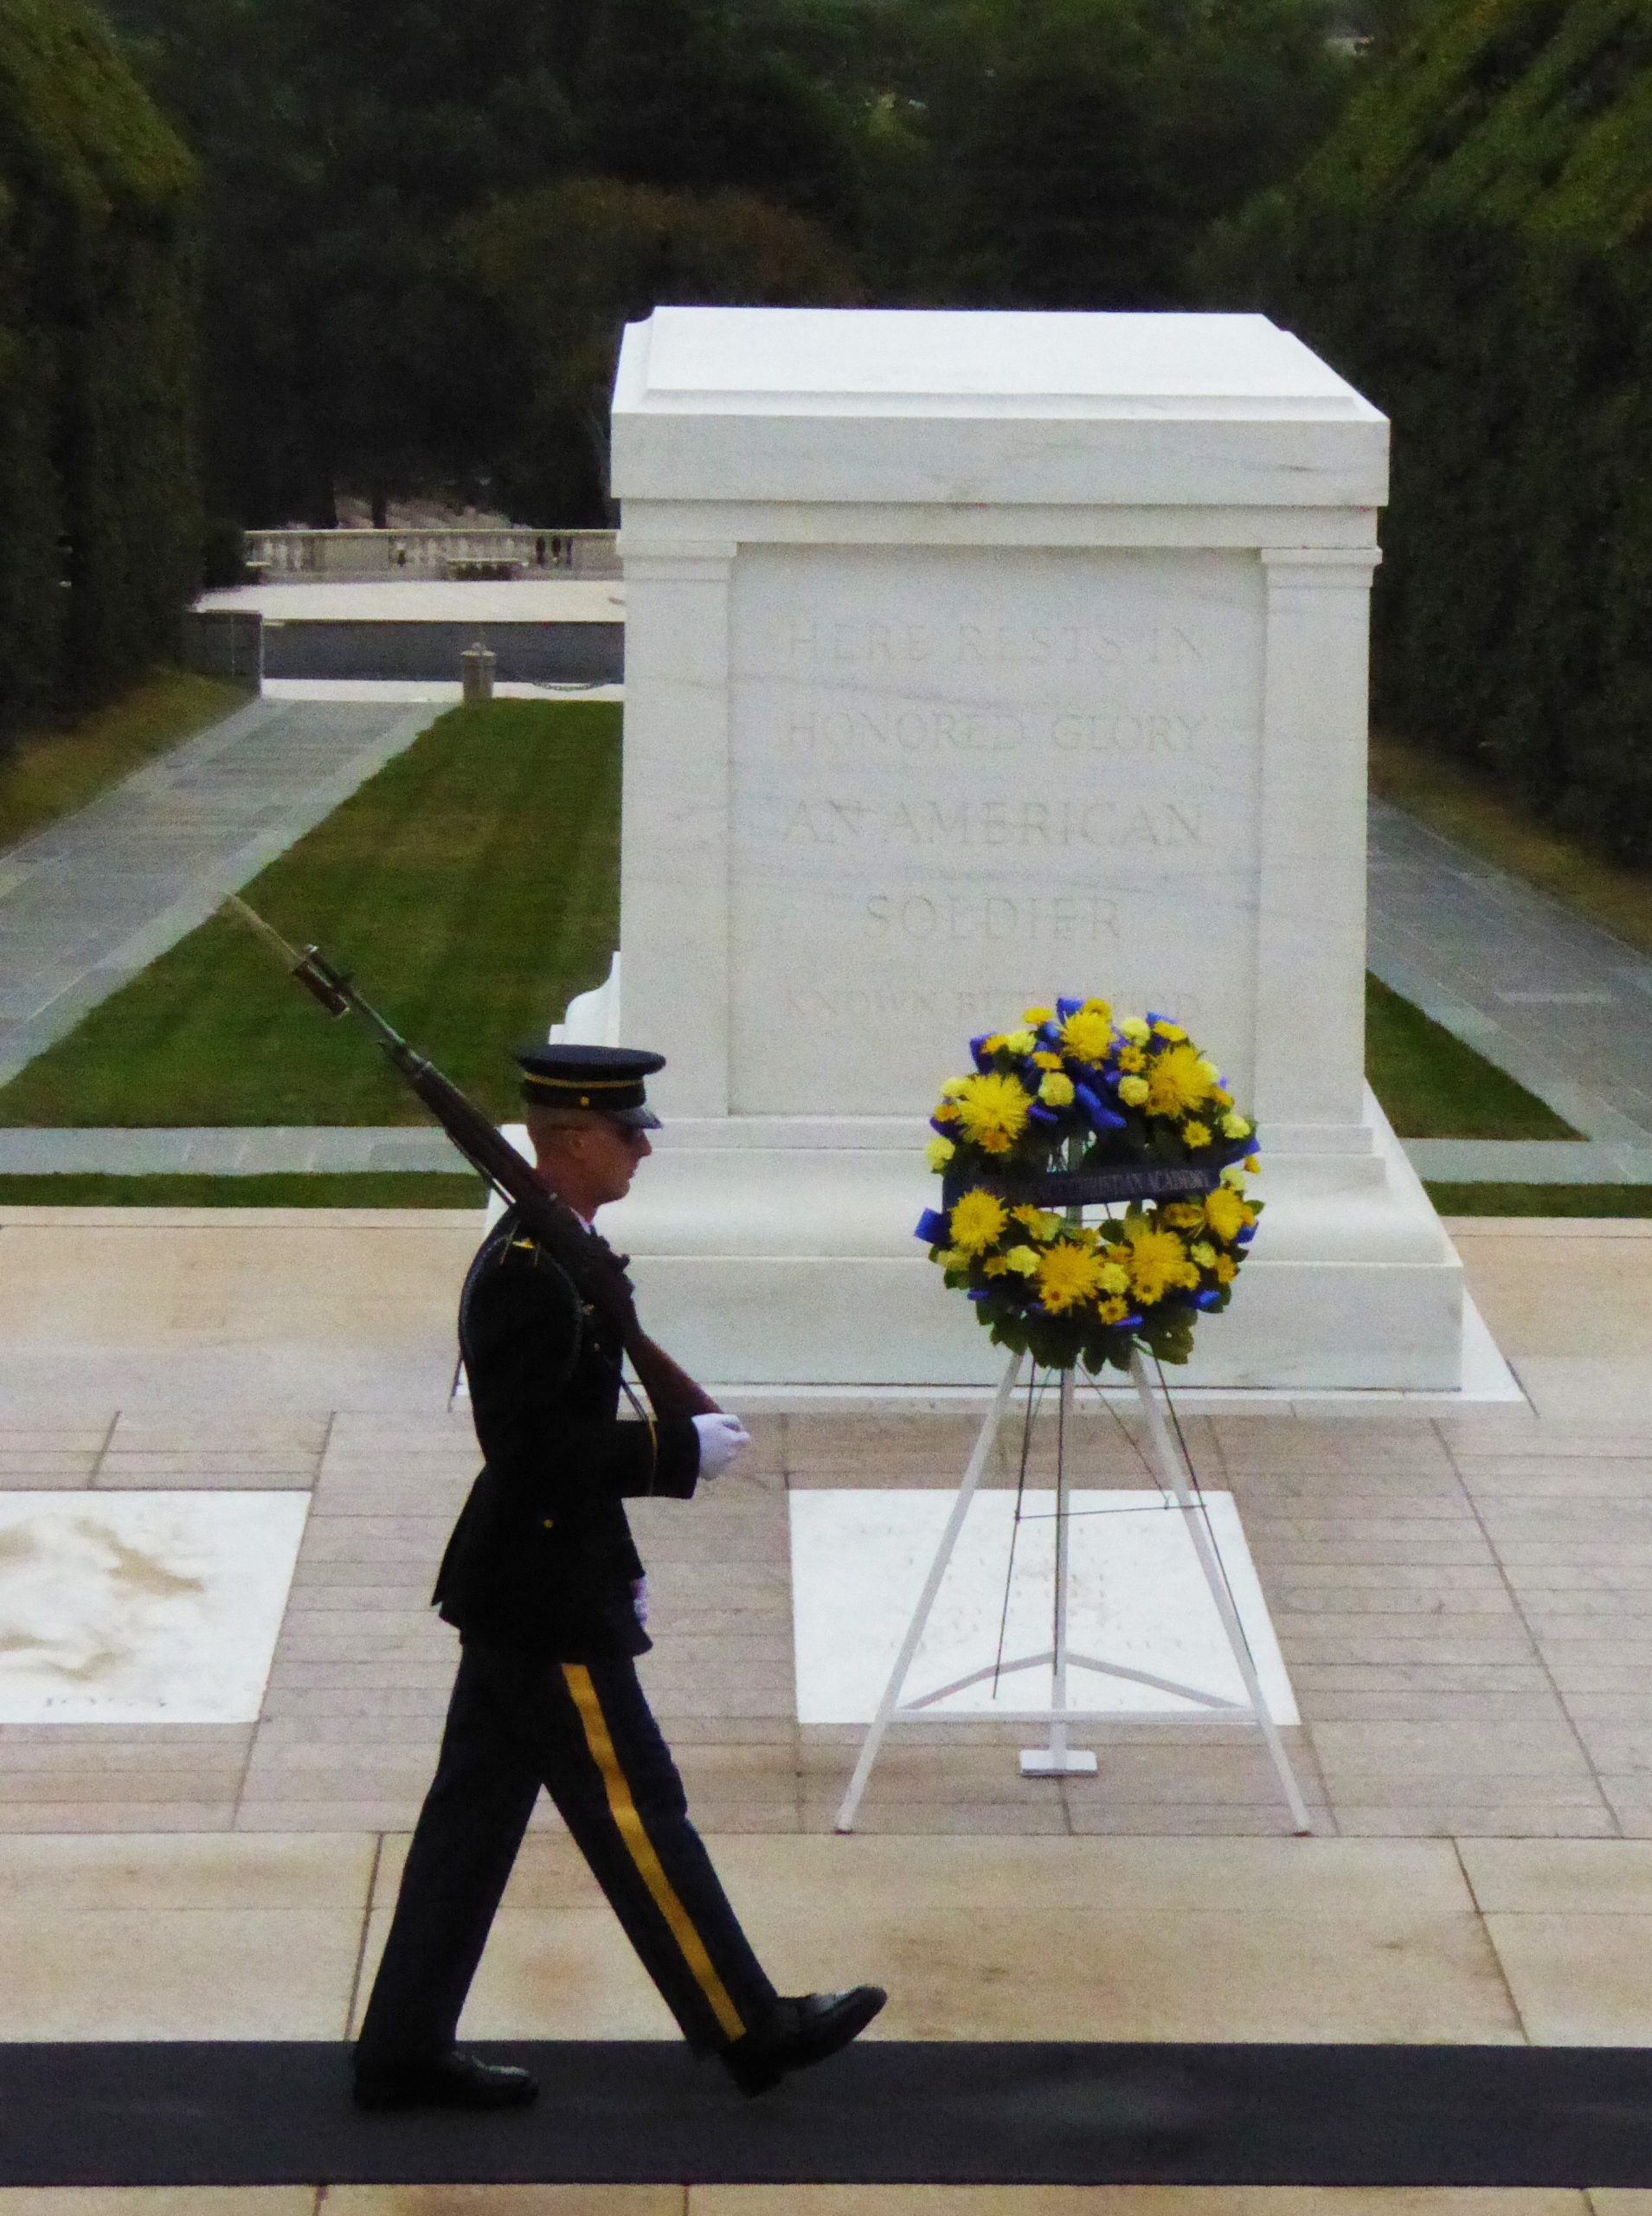
Okay, we all know this one. Divide your viewing screen into 9 quadrants by drawing 2 vertical and 2 horizontal imaginary lines at 1/3 intervals (or use the setting on your camera to do so). Put the subject in any of those quadrants except the center one. Your photo will look sooooo much more creative if you don’t put your subject in dead center.
a). In this example, I wanted to get a shot at the Tomb of the Unknown Soldier in Washington D.C. My first photo was centered and boring (not to mention distracting with the guy in the background), and the second was using the rule of 1/3rds and putting him in a more appropriate setting:

b). Here’s another example. How much better is #2?


**************************************************
TIP #2: FILL THE FRAME
This might sound like a contradiction to Tip #1, but if your subject is ALL that is in the shot, it’ll work. What little background there is should either be blurred or very simple. Here are a couple of examples:


**************************************************
TIP #3: WATCH THE HORIZON LINE
This may sound painfully obvious, but with so much to think about, sometimes we neglect the horizon and either tilt the camera (not paying attention to the angle) or put it in the center of the shot. If you mess this up, you can generally correct these problems on your computer’s photo program. A ‘crop’ button can remove some of the top or bottom to keep the horizon out of the center, and the ‘straighten’ button is there for you if you’ve held the camera at an angle. See how much difference this can make:
a). In this first photo I was mesmerized by the beautiful sunset as we left Ft. Lauderdale on Royal Caribbean’s newest ship (at the time), the Harmony. So much so, that I neglected to pay attention to the Horizon Line. Were we sliding off of the ship?:

b). Here the Horizon Line is straight – which is much better – but it’s dead center, which makes for a less-than-appealing photo:

c). Okay. Now we’ve put the Horizon Line in one of the 1/3rd quadrants and it’s straight. Much better, don’t you think?

**************************************************
TIP #4: KEEP THE MAIN THING THE MAIN THING
A good photo never leaves you wondering what the main subject really is. Make sure your subject is the focal point, and not diminished by whatever else is in the shot. Here’s a sample of what I mean:

a). In this first photo I was trying to capture the atmosphere of Chinatown in San Francisco. What I got was pretty much a hot mess.

b). The better option was to focus on something specific instead of such a busy scene with no real subject.
**************************************************
TIP #5: PAY ATTENTION TO THE BACKGROUND
If your background is too ‘busy’ it will take away from your subject and create a really uninteresting snapshot. Either blur the background (adjust your aperture setting or move in on the subject and create more distance between it and the background), or simply change the angle and face a more simple background. Here are 2 examples of why you need to keep the background from competing with the subject:


**************************************************
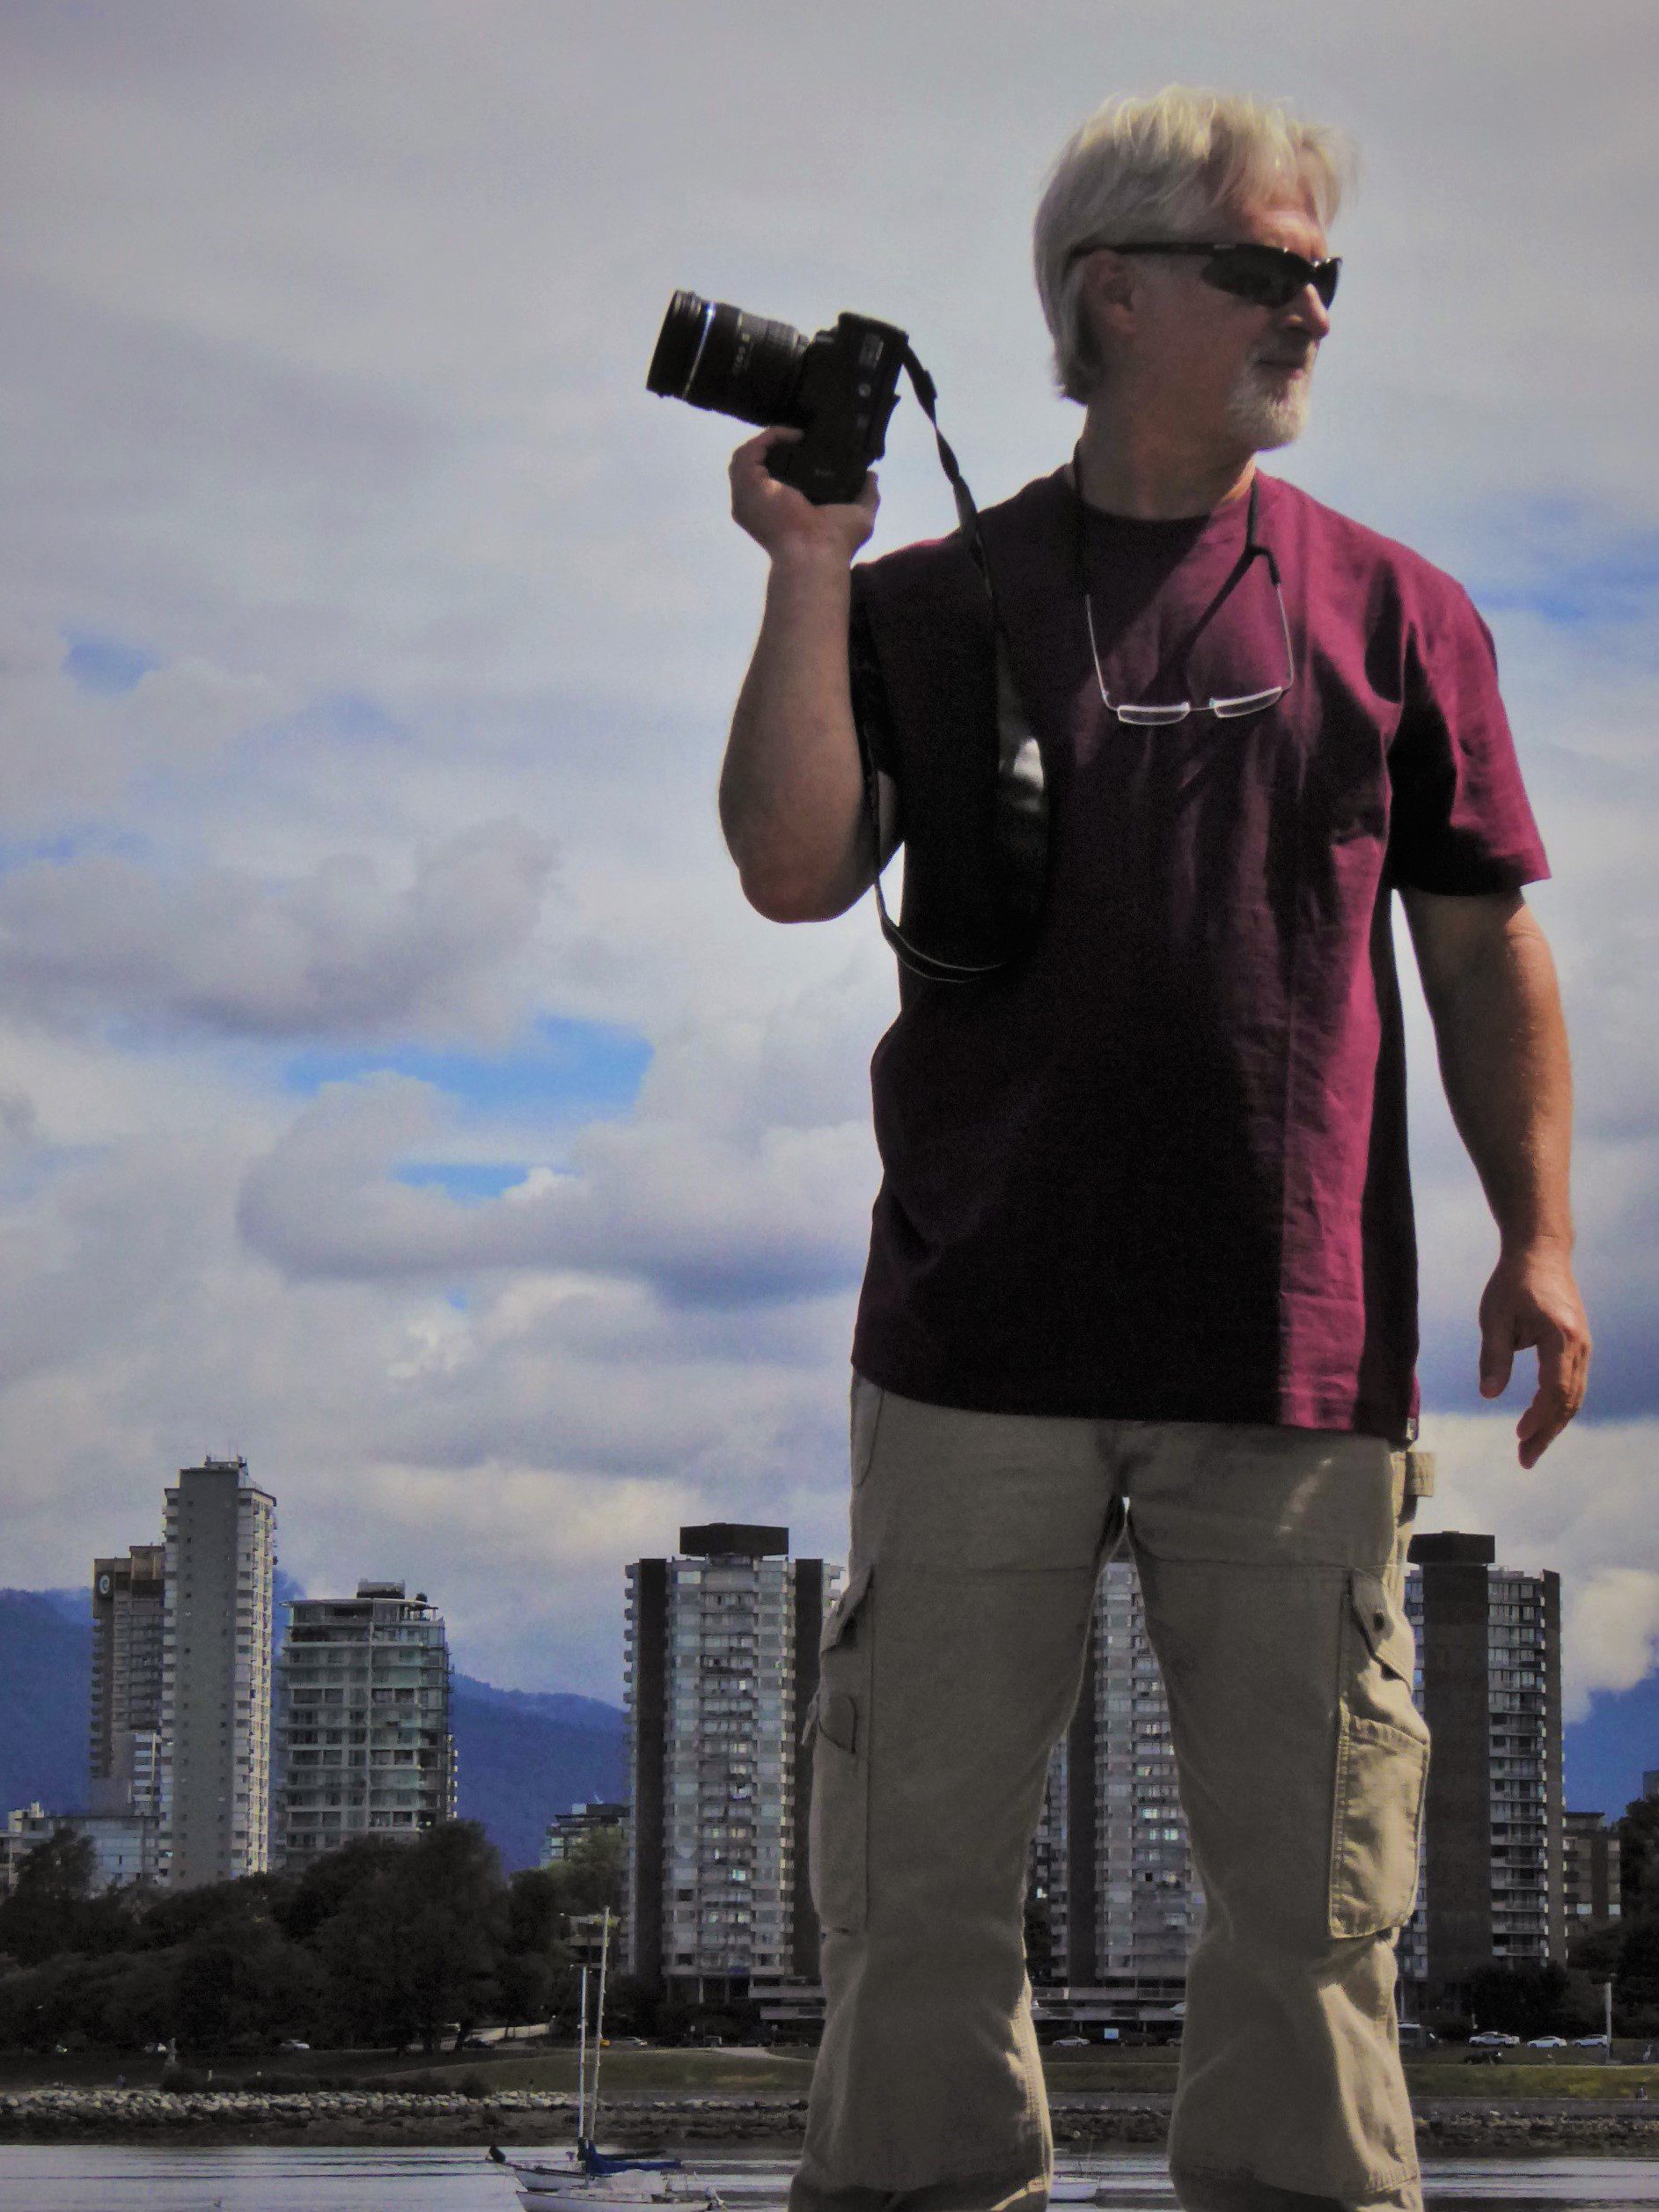
TIP #6: SHOW SCALE
If your objective is to emphasize or de-emphasize a subject, put someone or something in the shot to give it perspective. See what that can do:


Here’s my (then) 11-yr old in the Swiss Alps & our 5 teenagers at the Neuschwanstein Castle
**************************************************
TIP #7: MAKE IT FUN
The more fun you have with your photos, the better they will be and the less annoyed your family and friends will be with your ‘shutter finger’ problem. Remember, though, that a really great candid shot without a busy background or other ‘tip violations’ is tough to come by. Don’t be afraid to step in and orchestrate just a little.
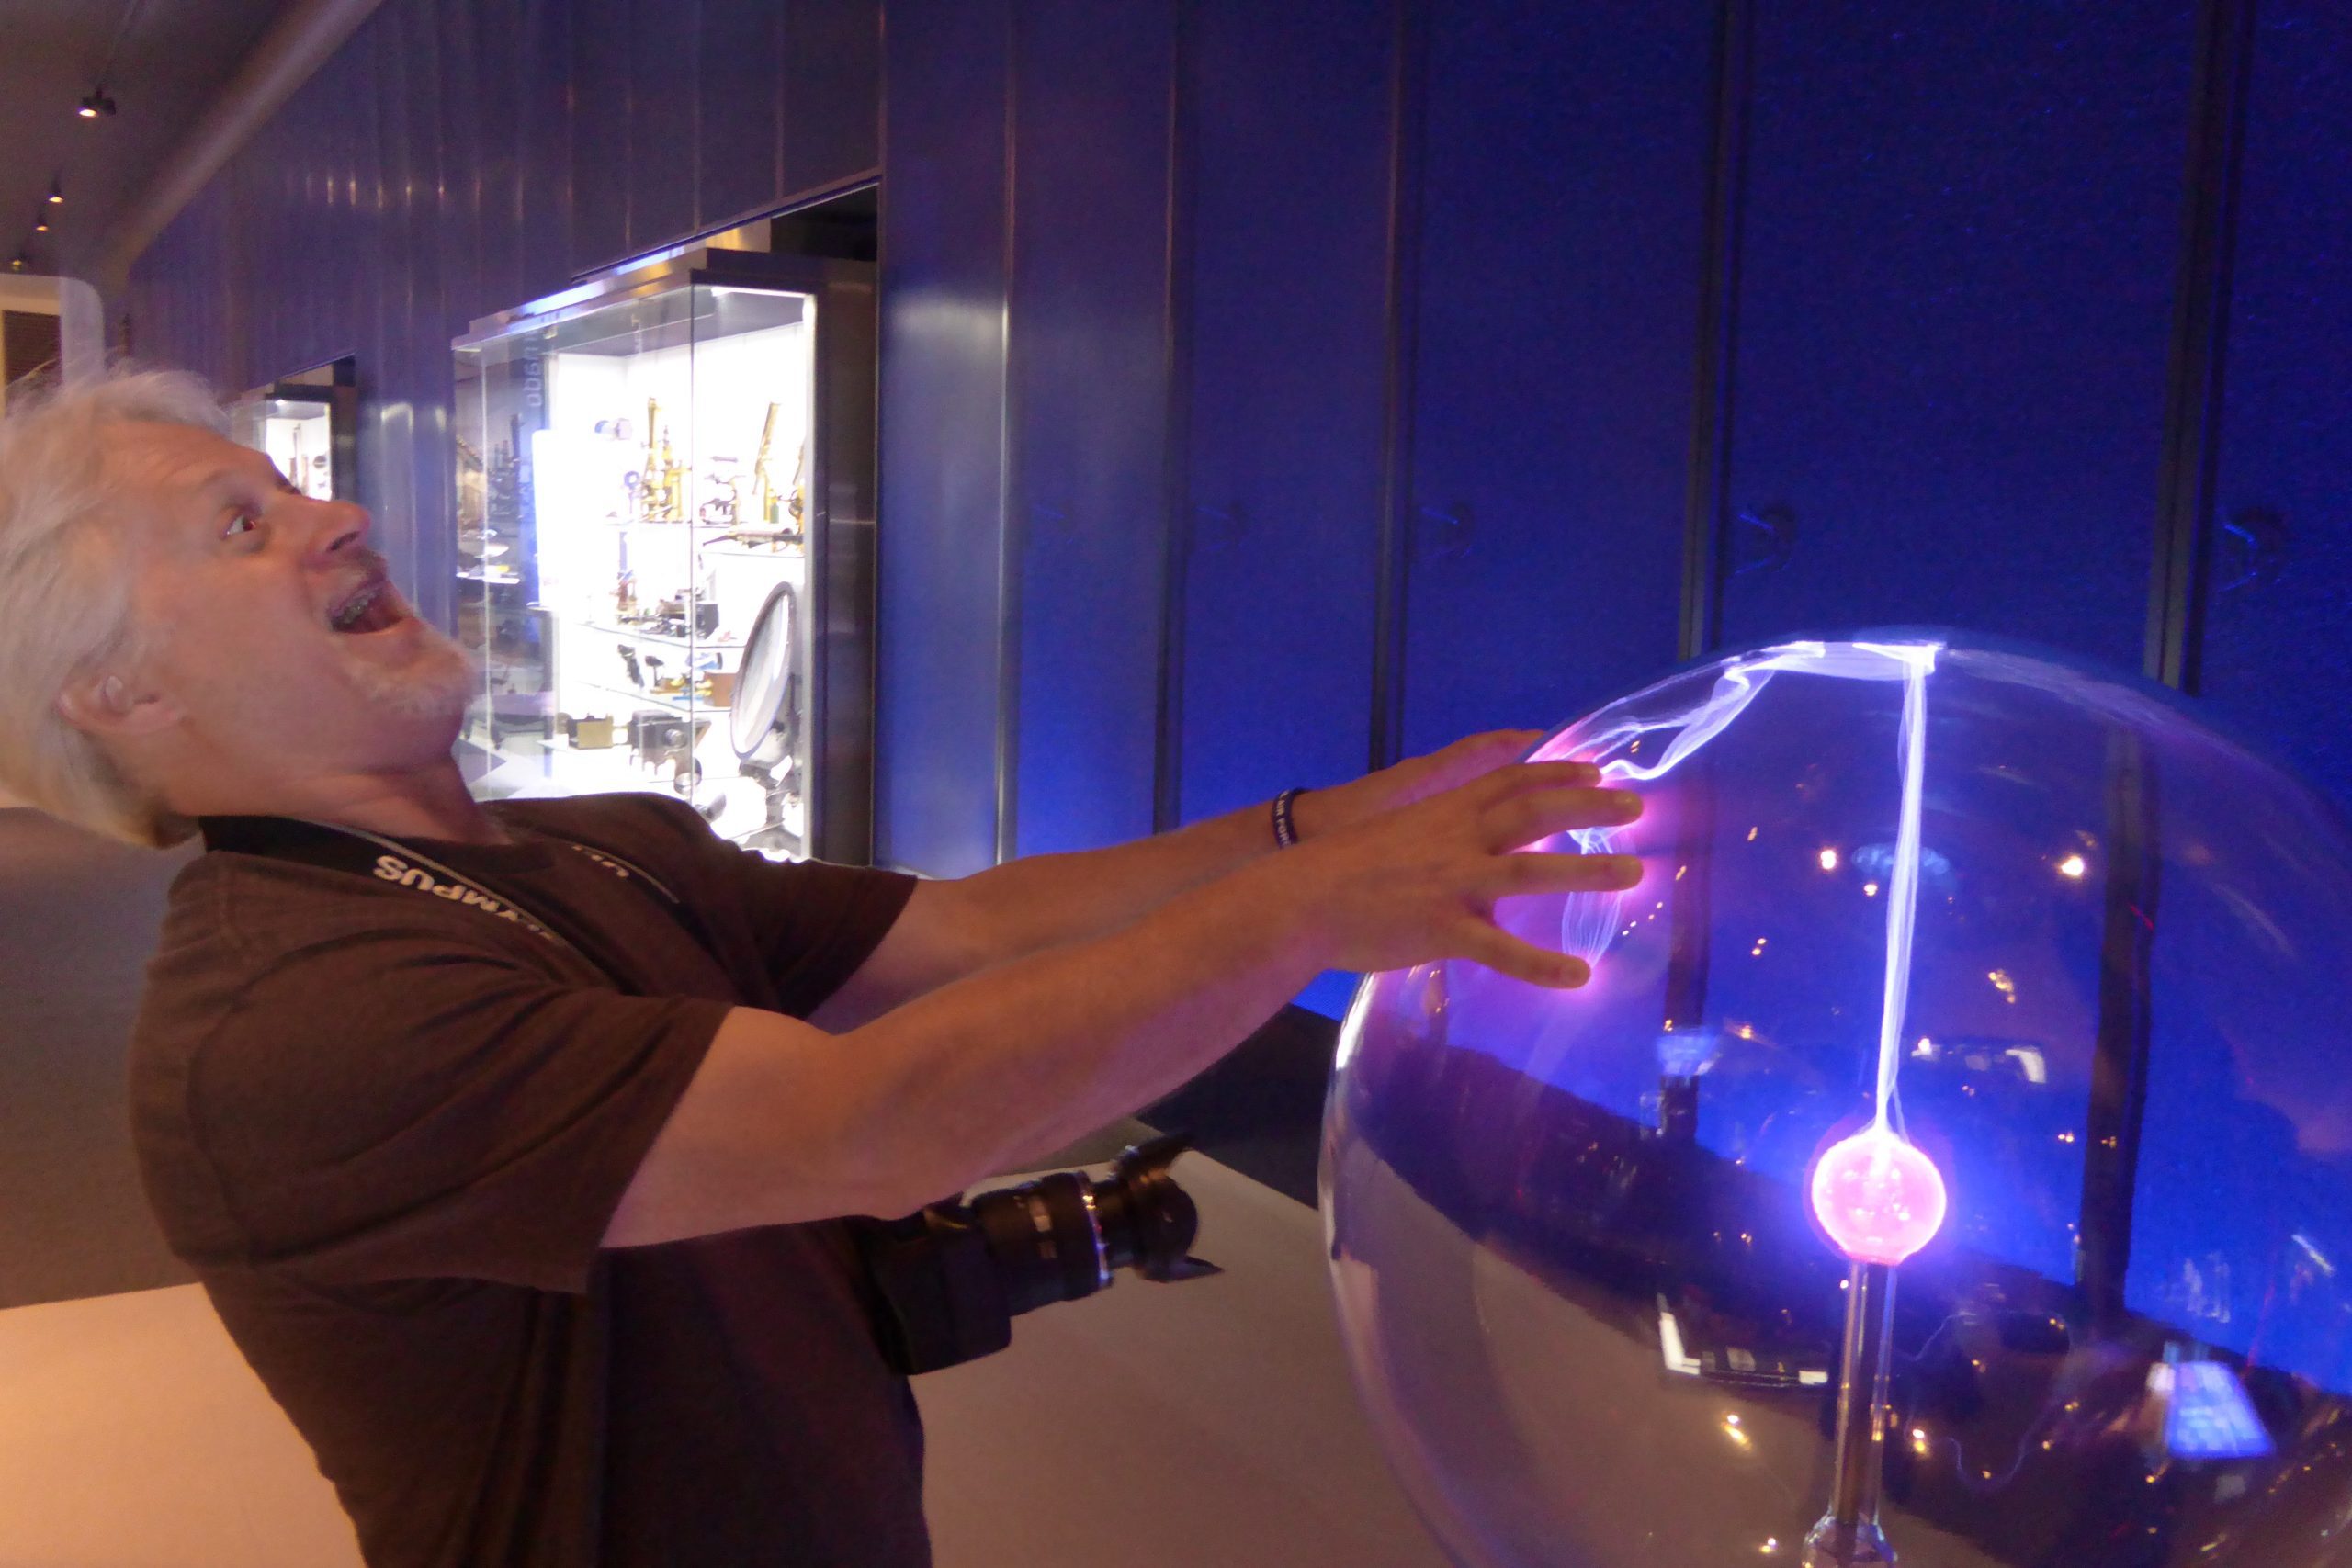
Here’s a photo of Eddie who actually hollered at me me with, “Look what I can do!” taken at the Chicago Museum of Science and Industry
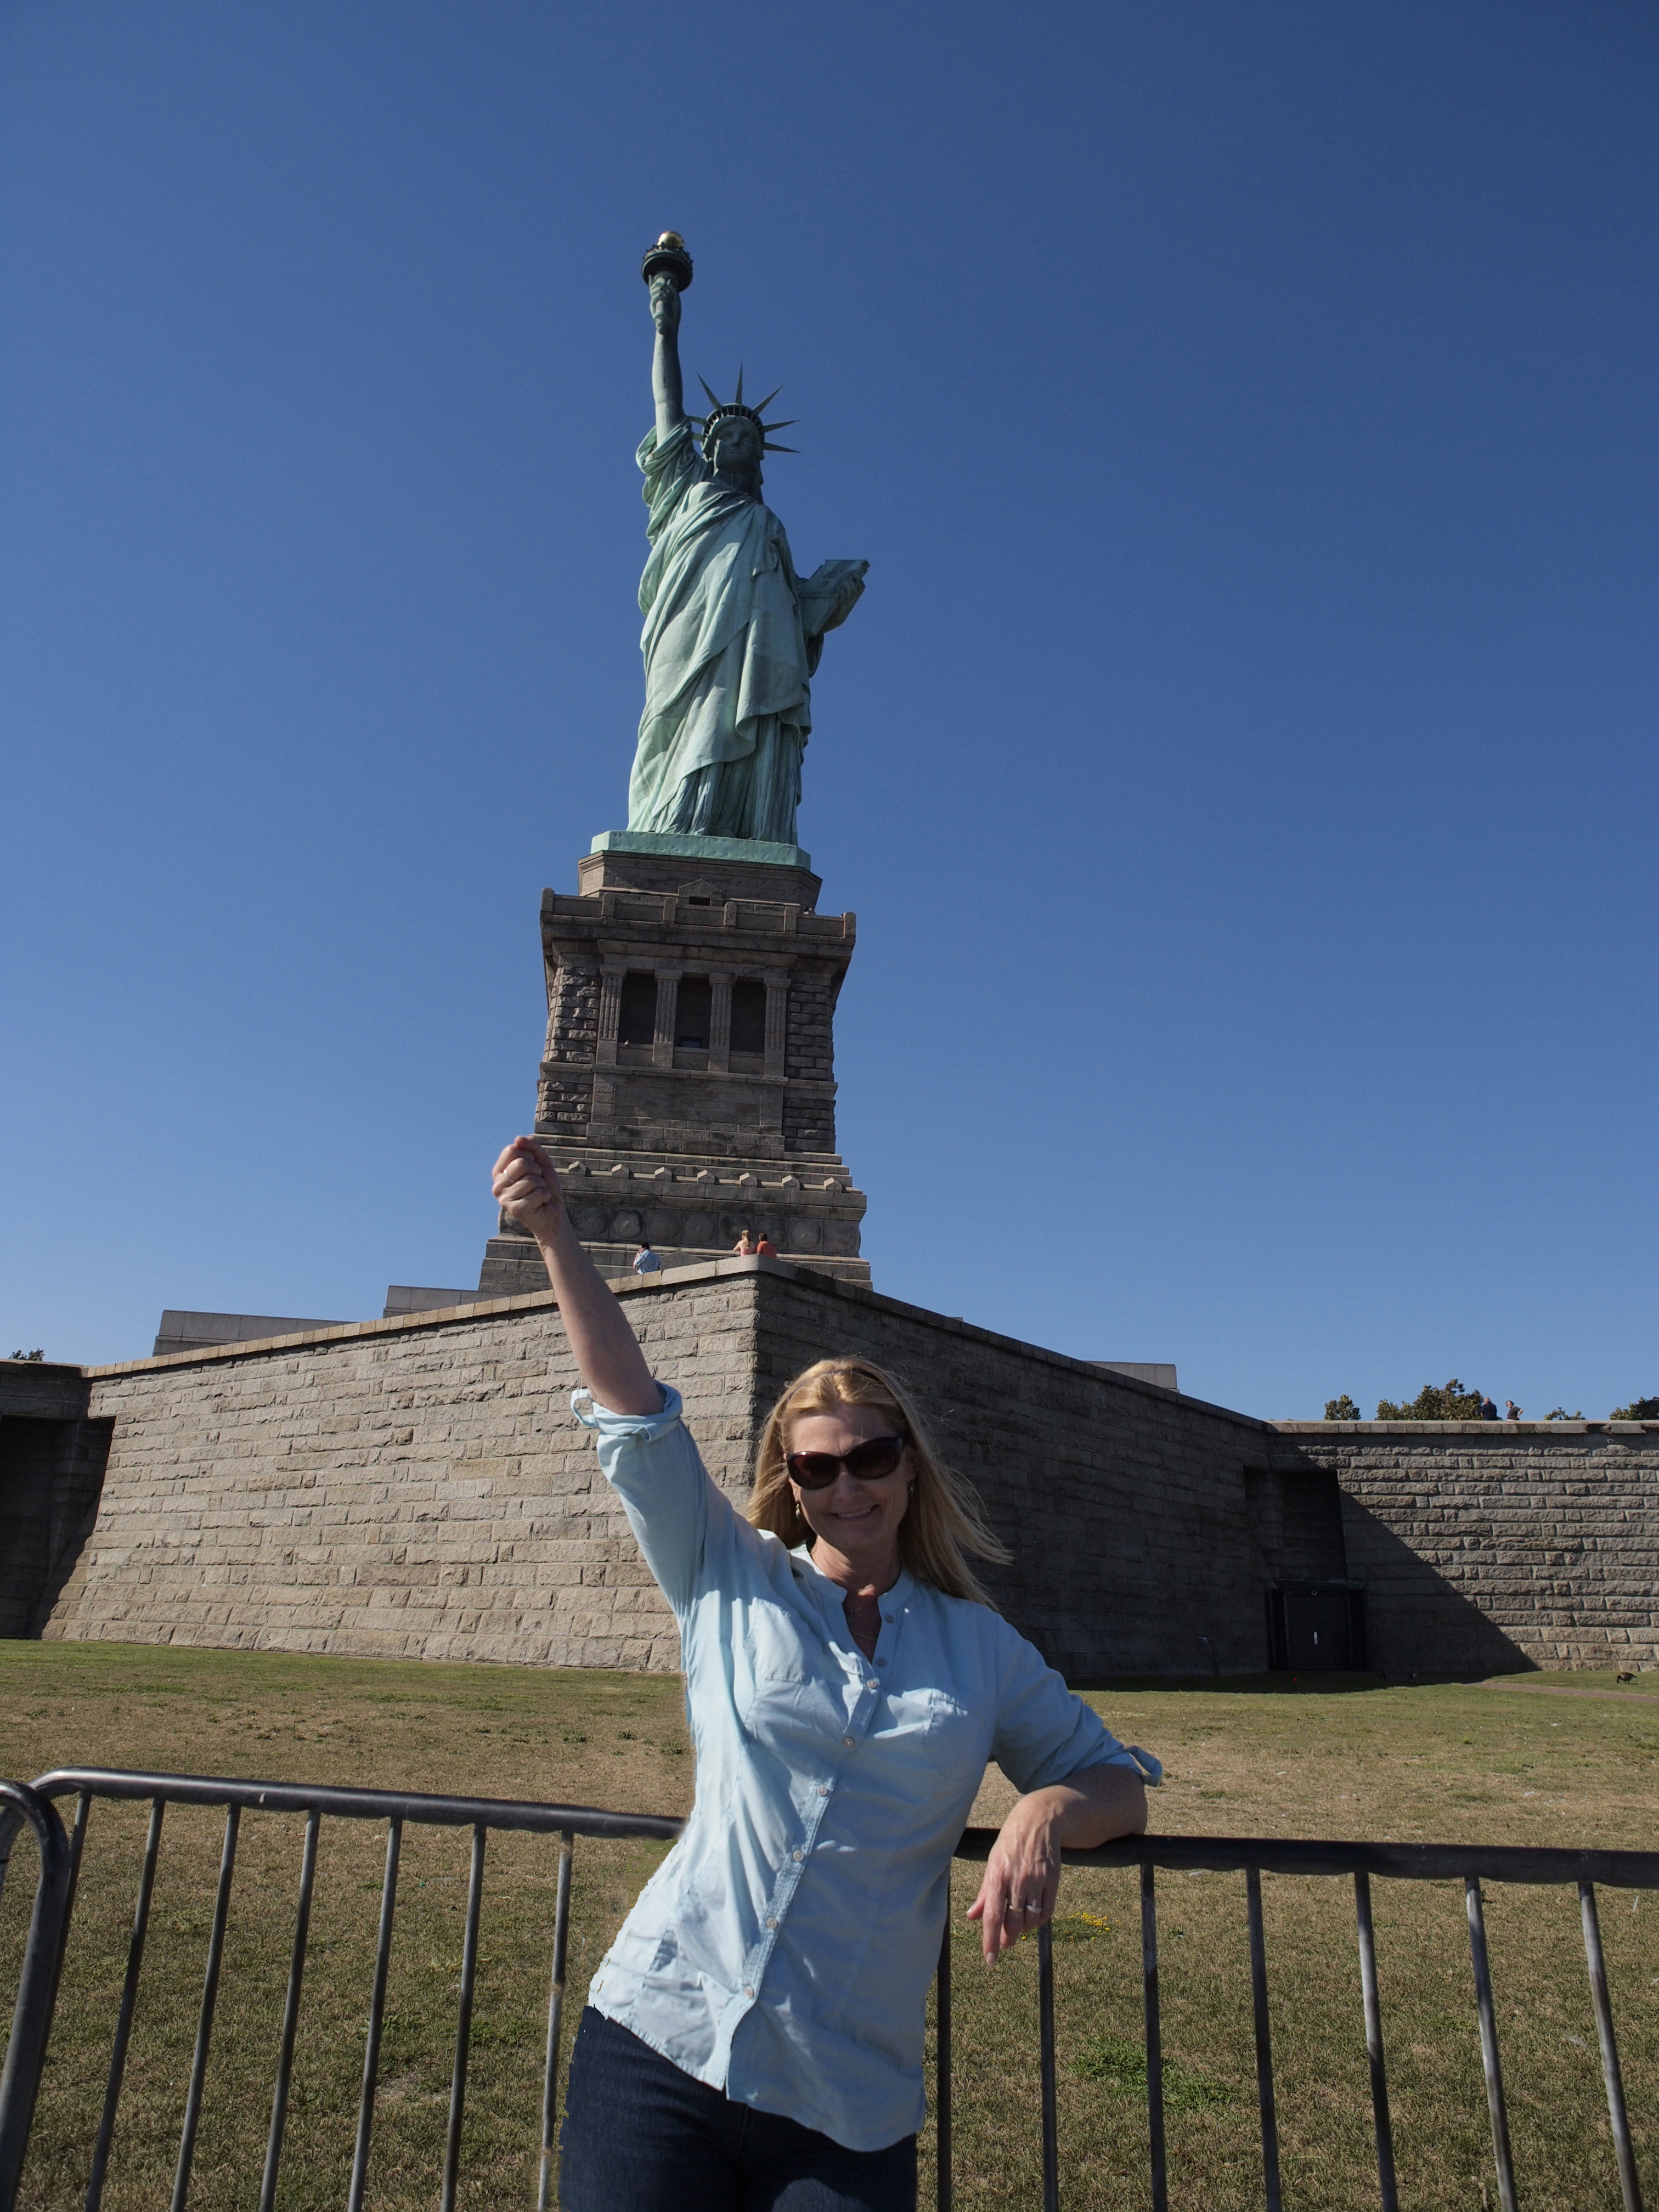
 This photo is of me at the Statue of Liberty, (which Eddie wanted to take because his first memory of seeing me was when I was dressed as Lady Liberty for a 4th of July program)
Using ‘scale’ creatively can also be fun!
**************************************************
TIP #8: BE CREATIVE BY GETTING UP CLOSE, USING PATTERNS OR CROPPING:
a). Let’s face it. Not everything that you want to take a picture of is all that interesting. Using your macro setting or just getting up close enough to single out a specific detail can create an artistic photo. You can also crop a photo down to just a single detail in your computer’s photo program with the ‘crop’ button. Here’s a few that I’ve altered because I thought the original was boring.
b). Repeating patterns are another way to make your photos creative and fun:
**************************************************
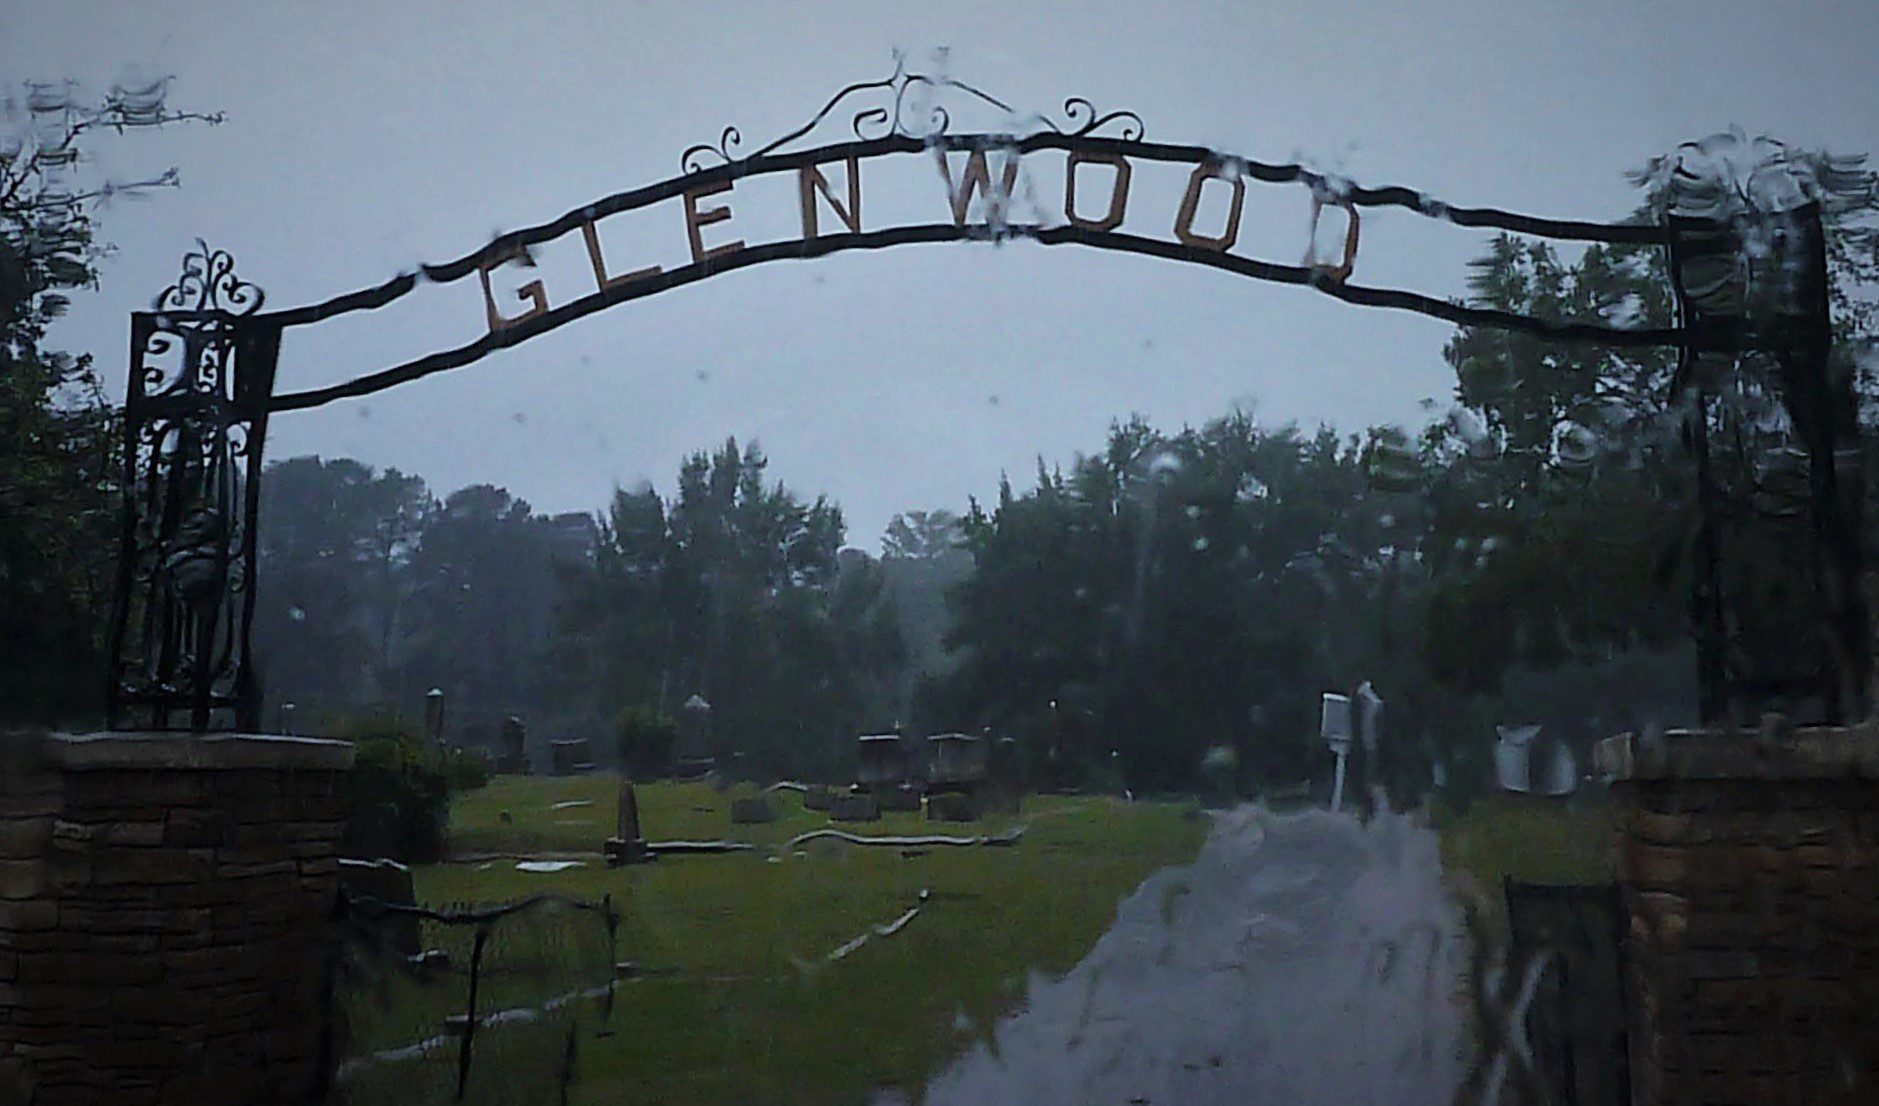
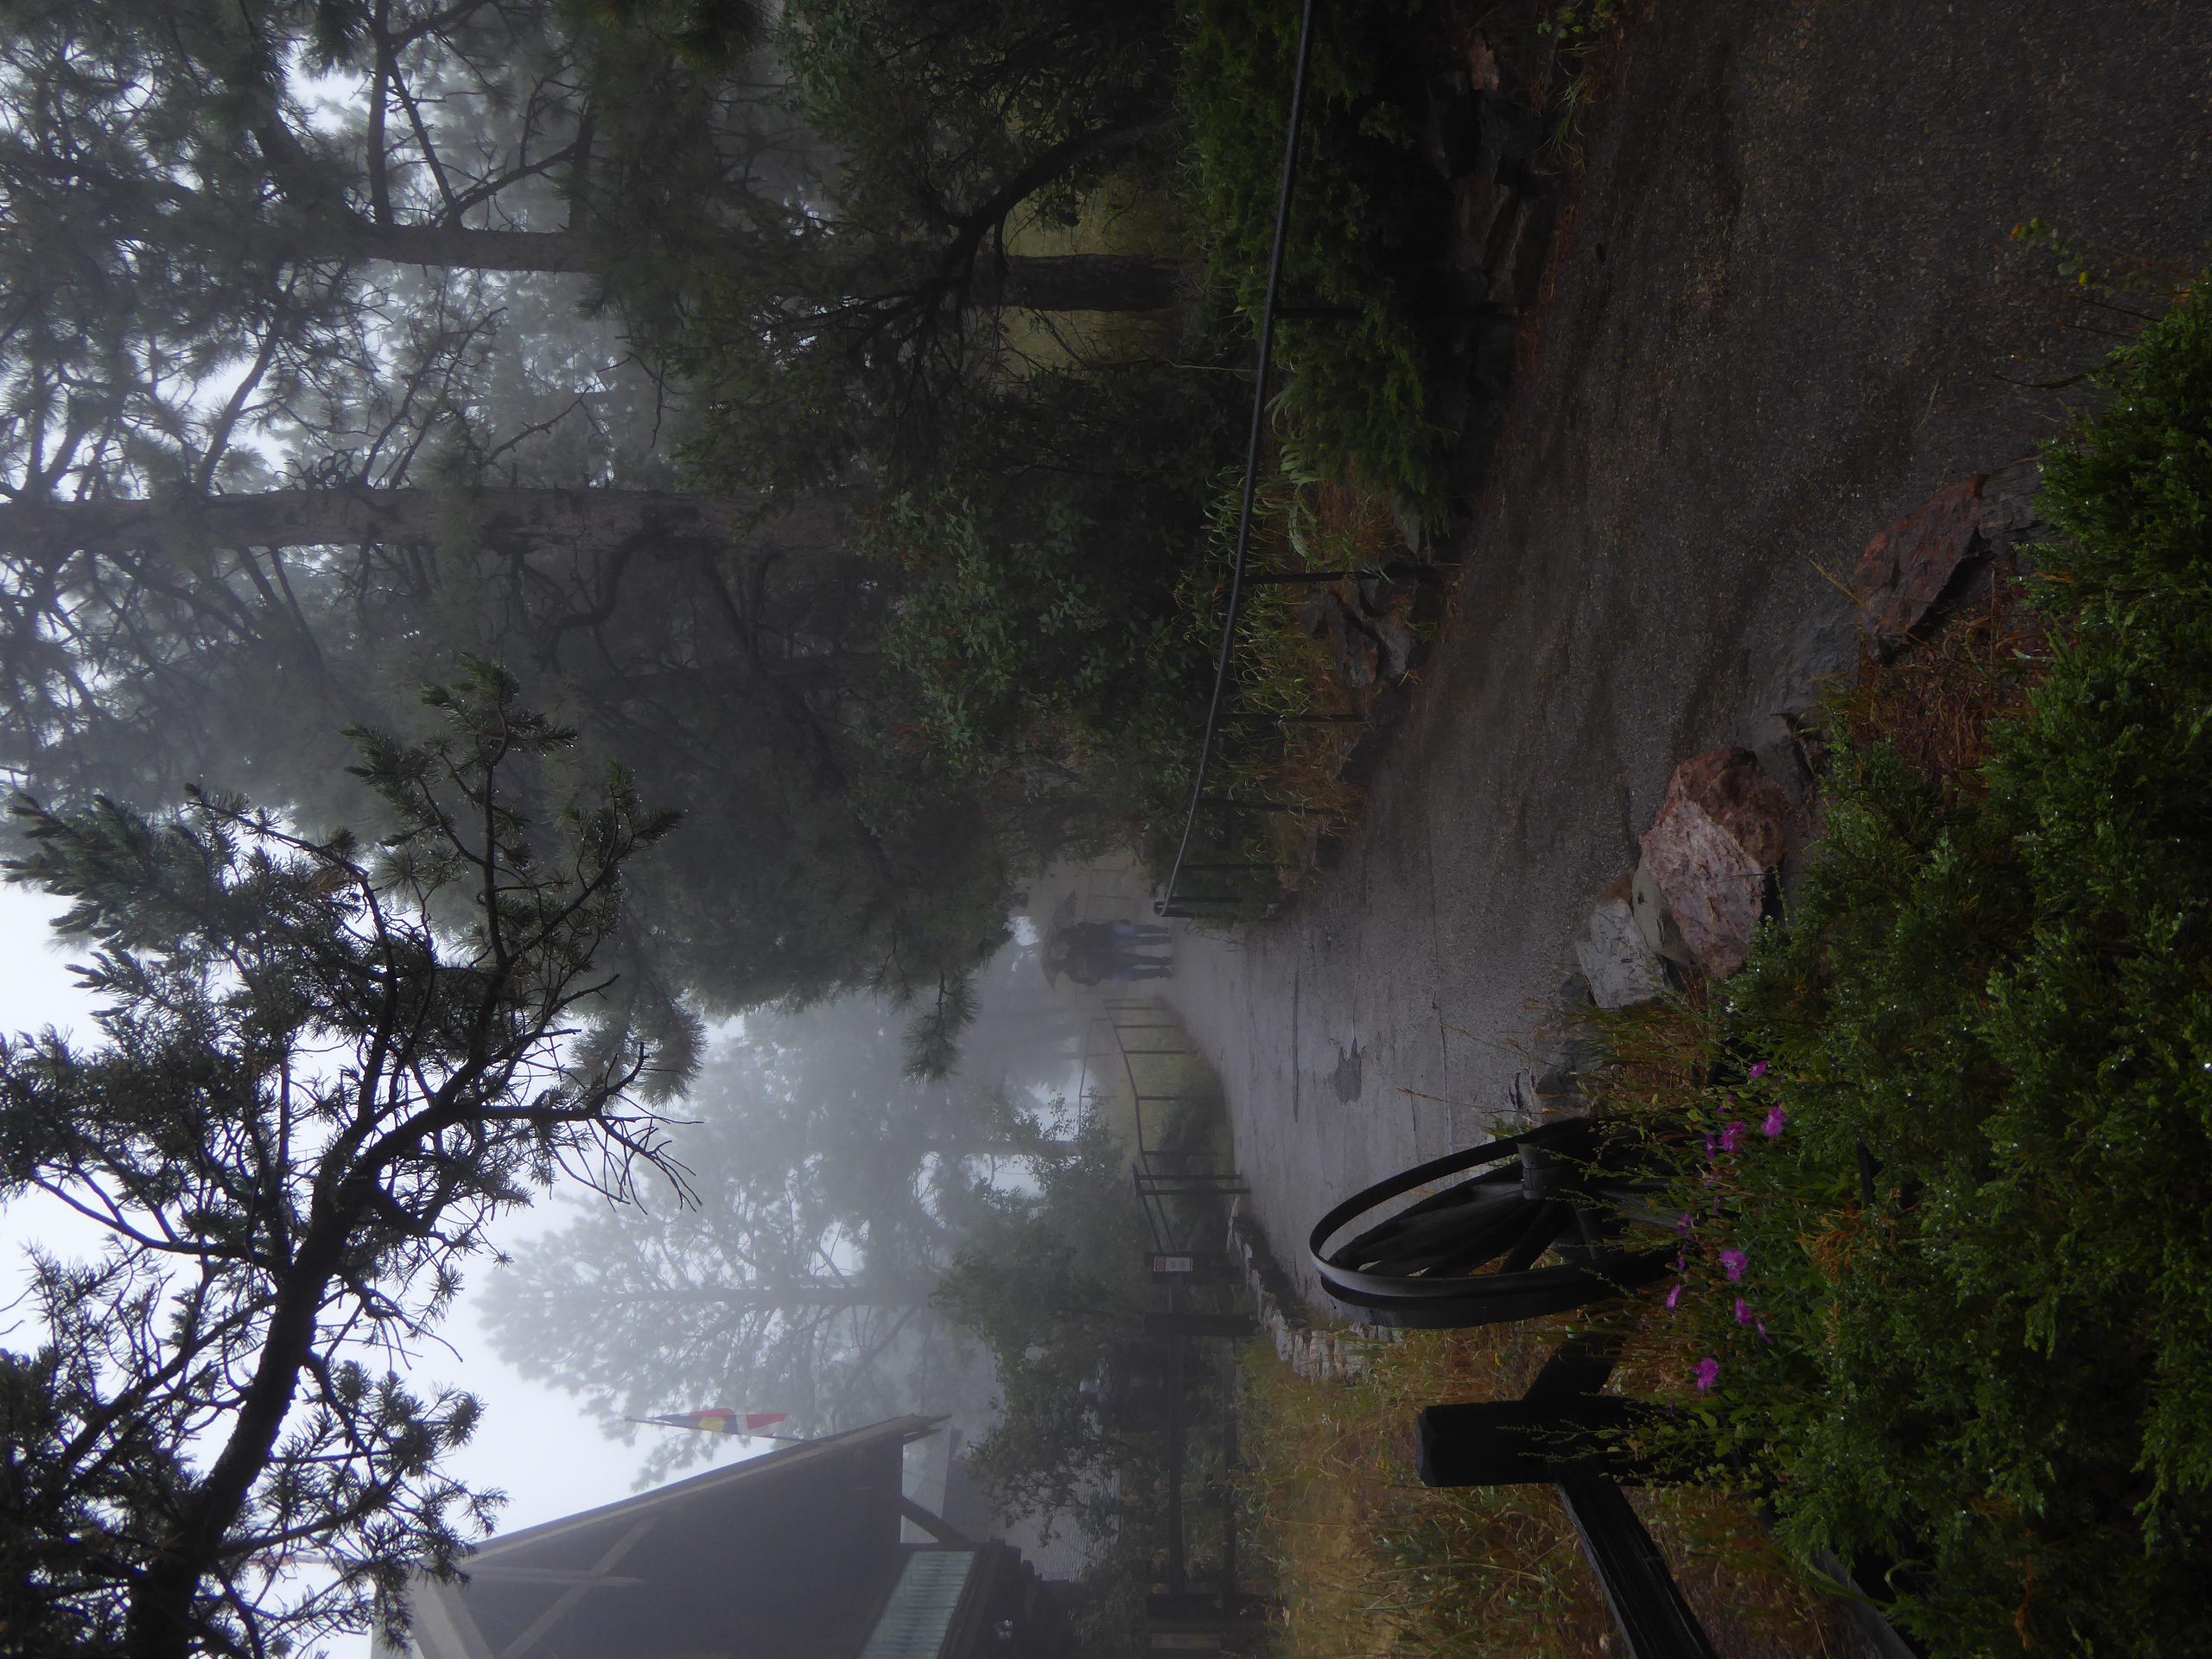
TIP #9: LOVE THE WEATHER
It simply doesn’t matter what mother nature is doing. Great photos can show off the different kinds of weather that she congers. Some of my favorite shots are in the fog, rain, mist and snow, and weather is a great way to create a mood or bring out an emotion. Besides, when you know what your camera can do with the rain, you’ll never feel like your vacation was ruined! Remember, though, that your camera needs to stay dry. There are ‘raincoats’ for SLRs and I put my point-and-shoot in a baggie with a hole cut into the corner. Here’s some fun shots taken in wet weather:


**************************************************
TIP #10: WATCH THE SHADOWS
I love how everything I read or watch about getting the best photos, tells me to photograph at the beginning or end of the day. What if I’m only climbing the Eiffel Tower between noon and 2 pm when the sun is at it’s worst for photography? The most important thing to remember in bright overhead sun is that shadows get cast in undesirable places – especially under the eyes. Here are a few things you can do to minimize problems and work with Shadows:
A. Play with the Shadows:
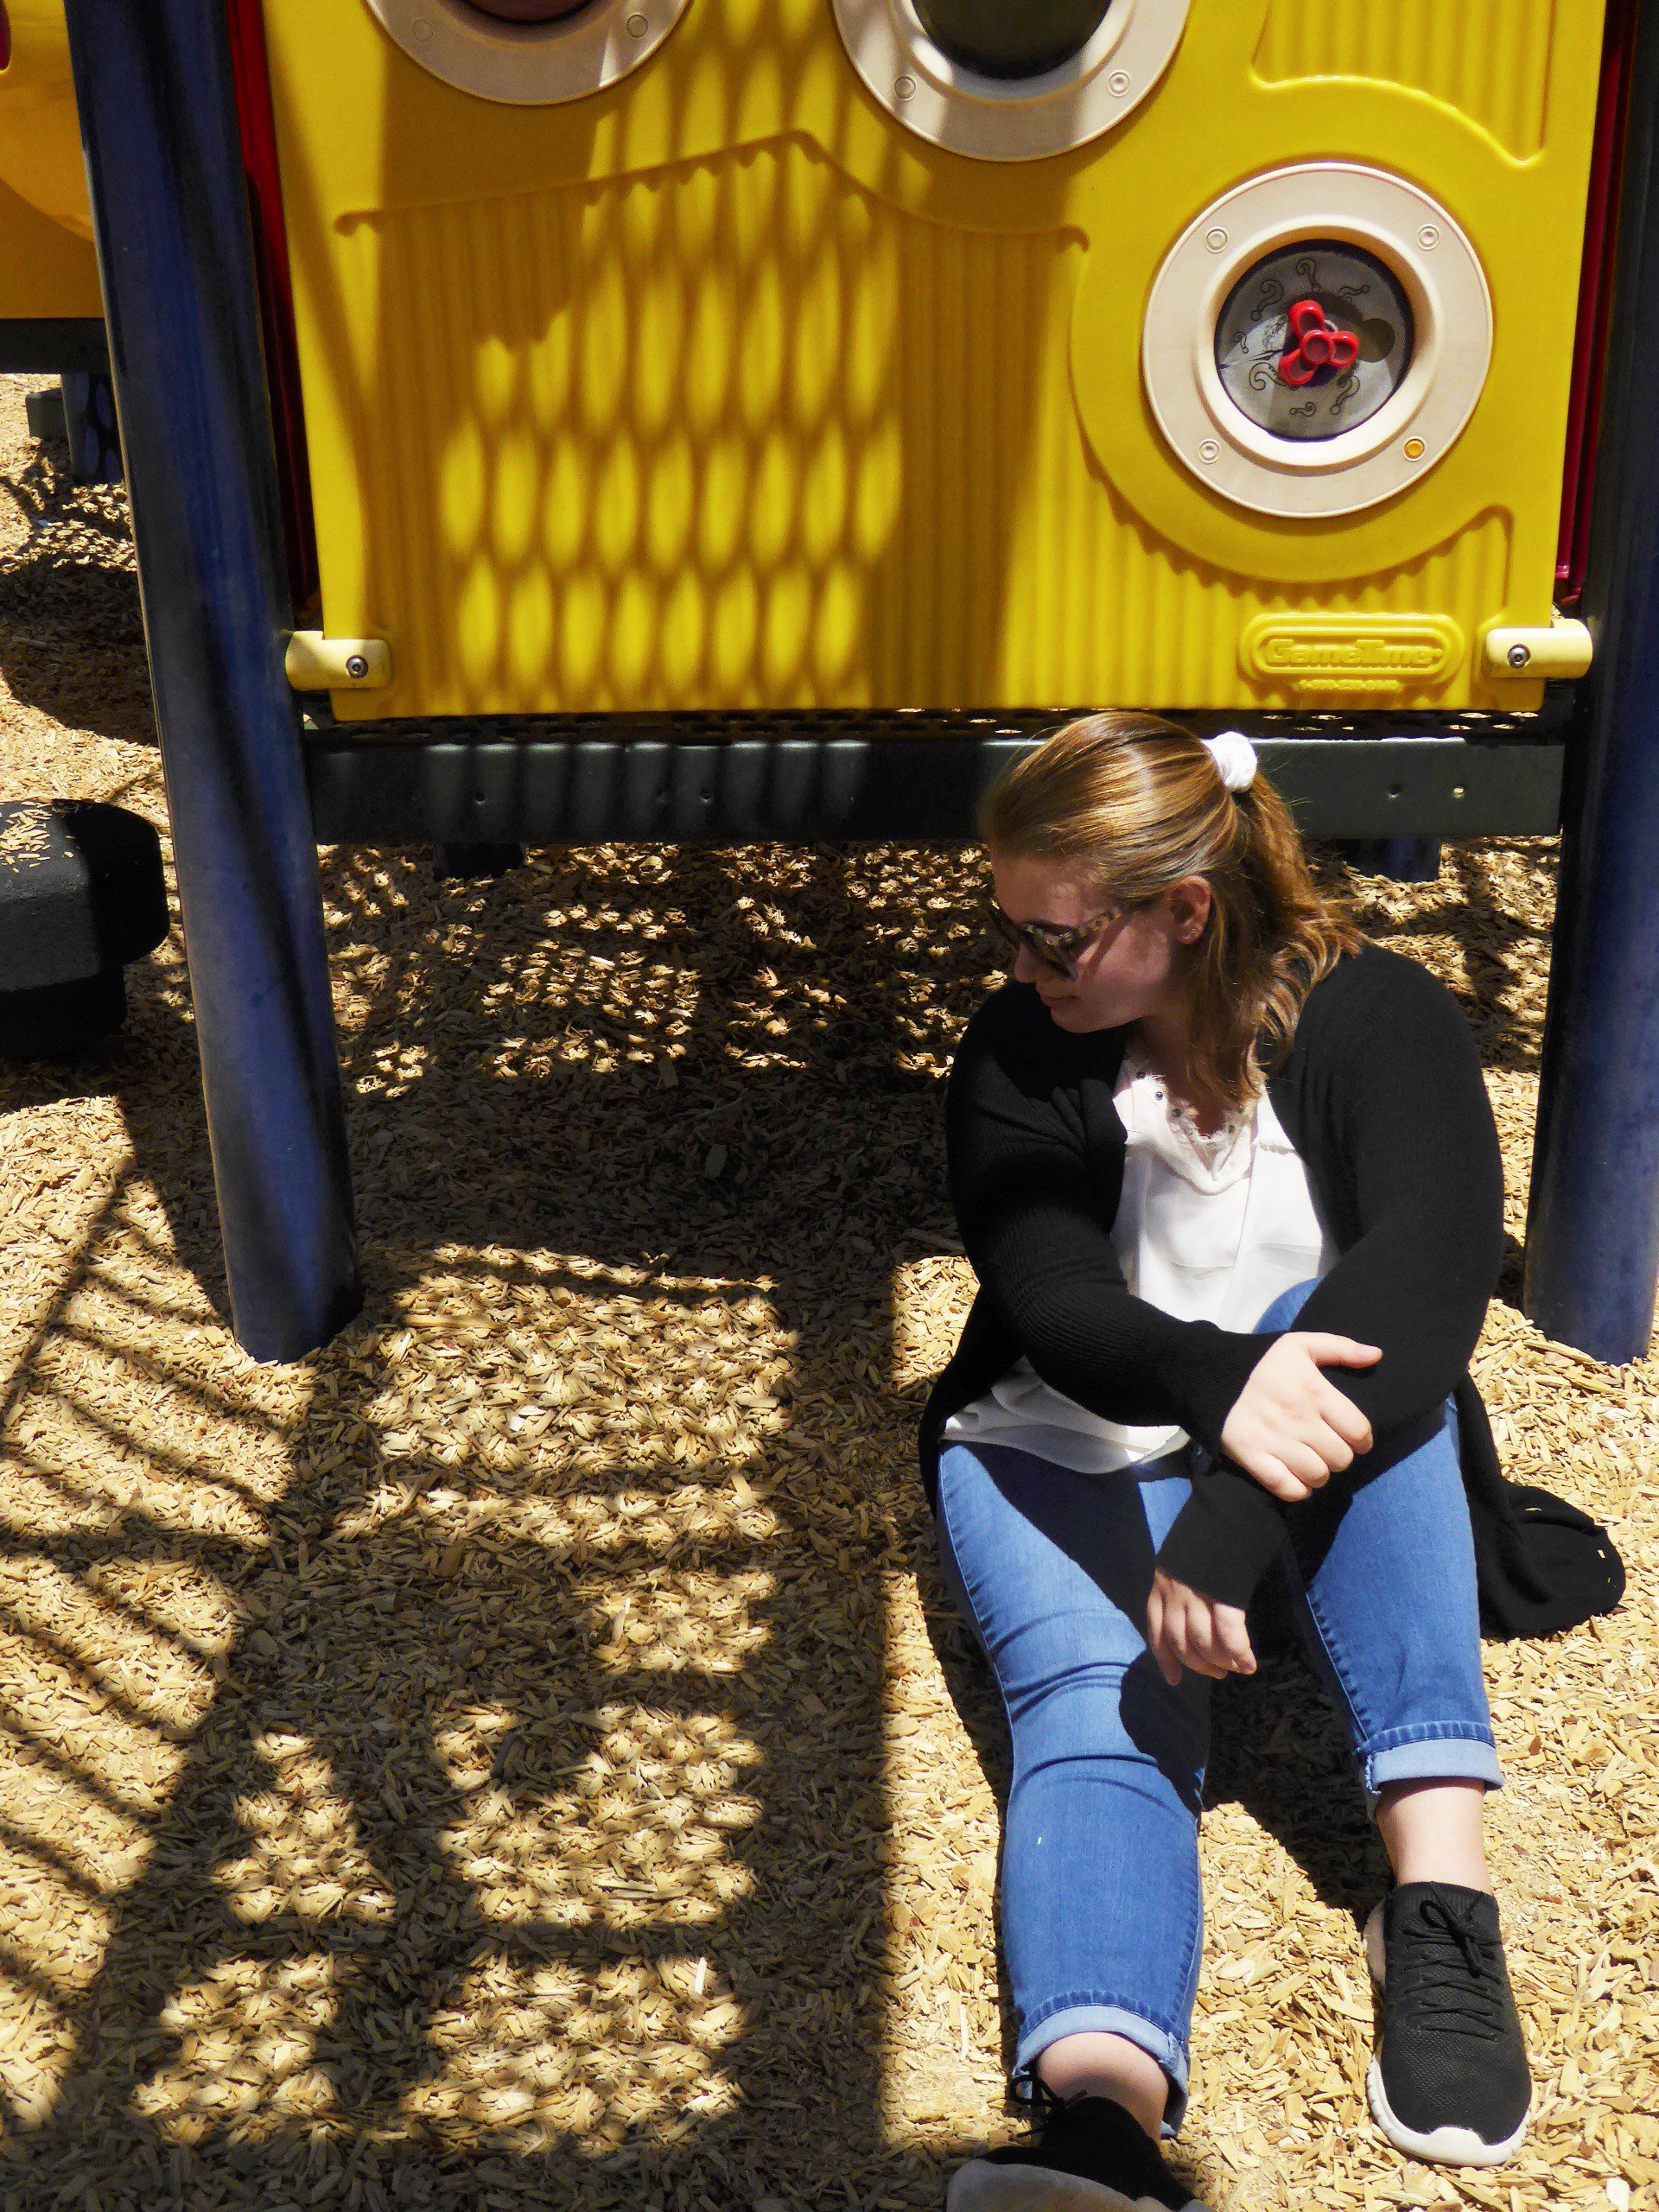

If the shadows are going to be there no matter what you do, you might as well have a little fun…
B. Photograph in even lighting:

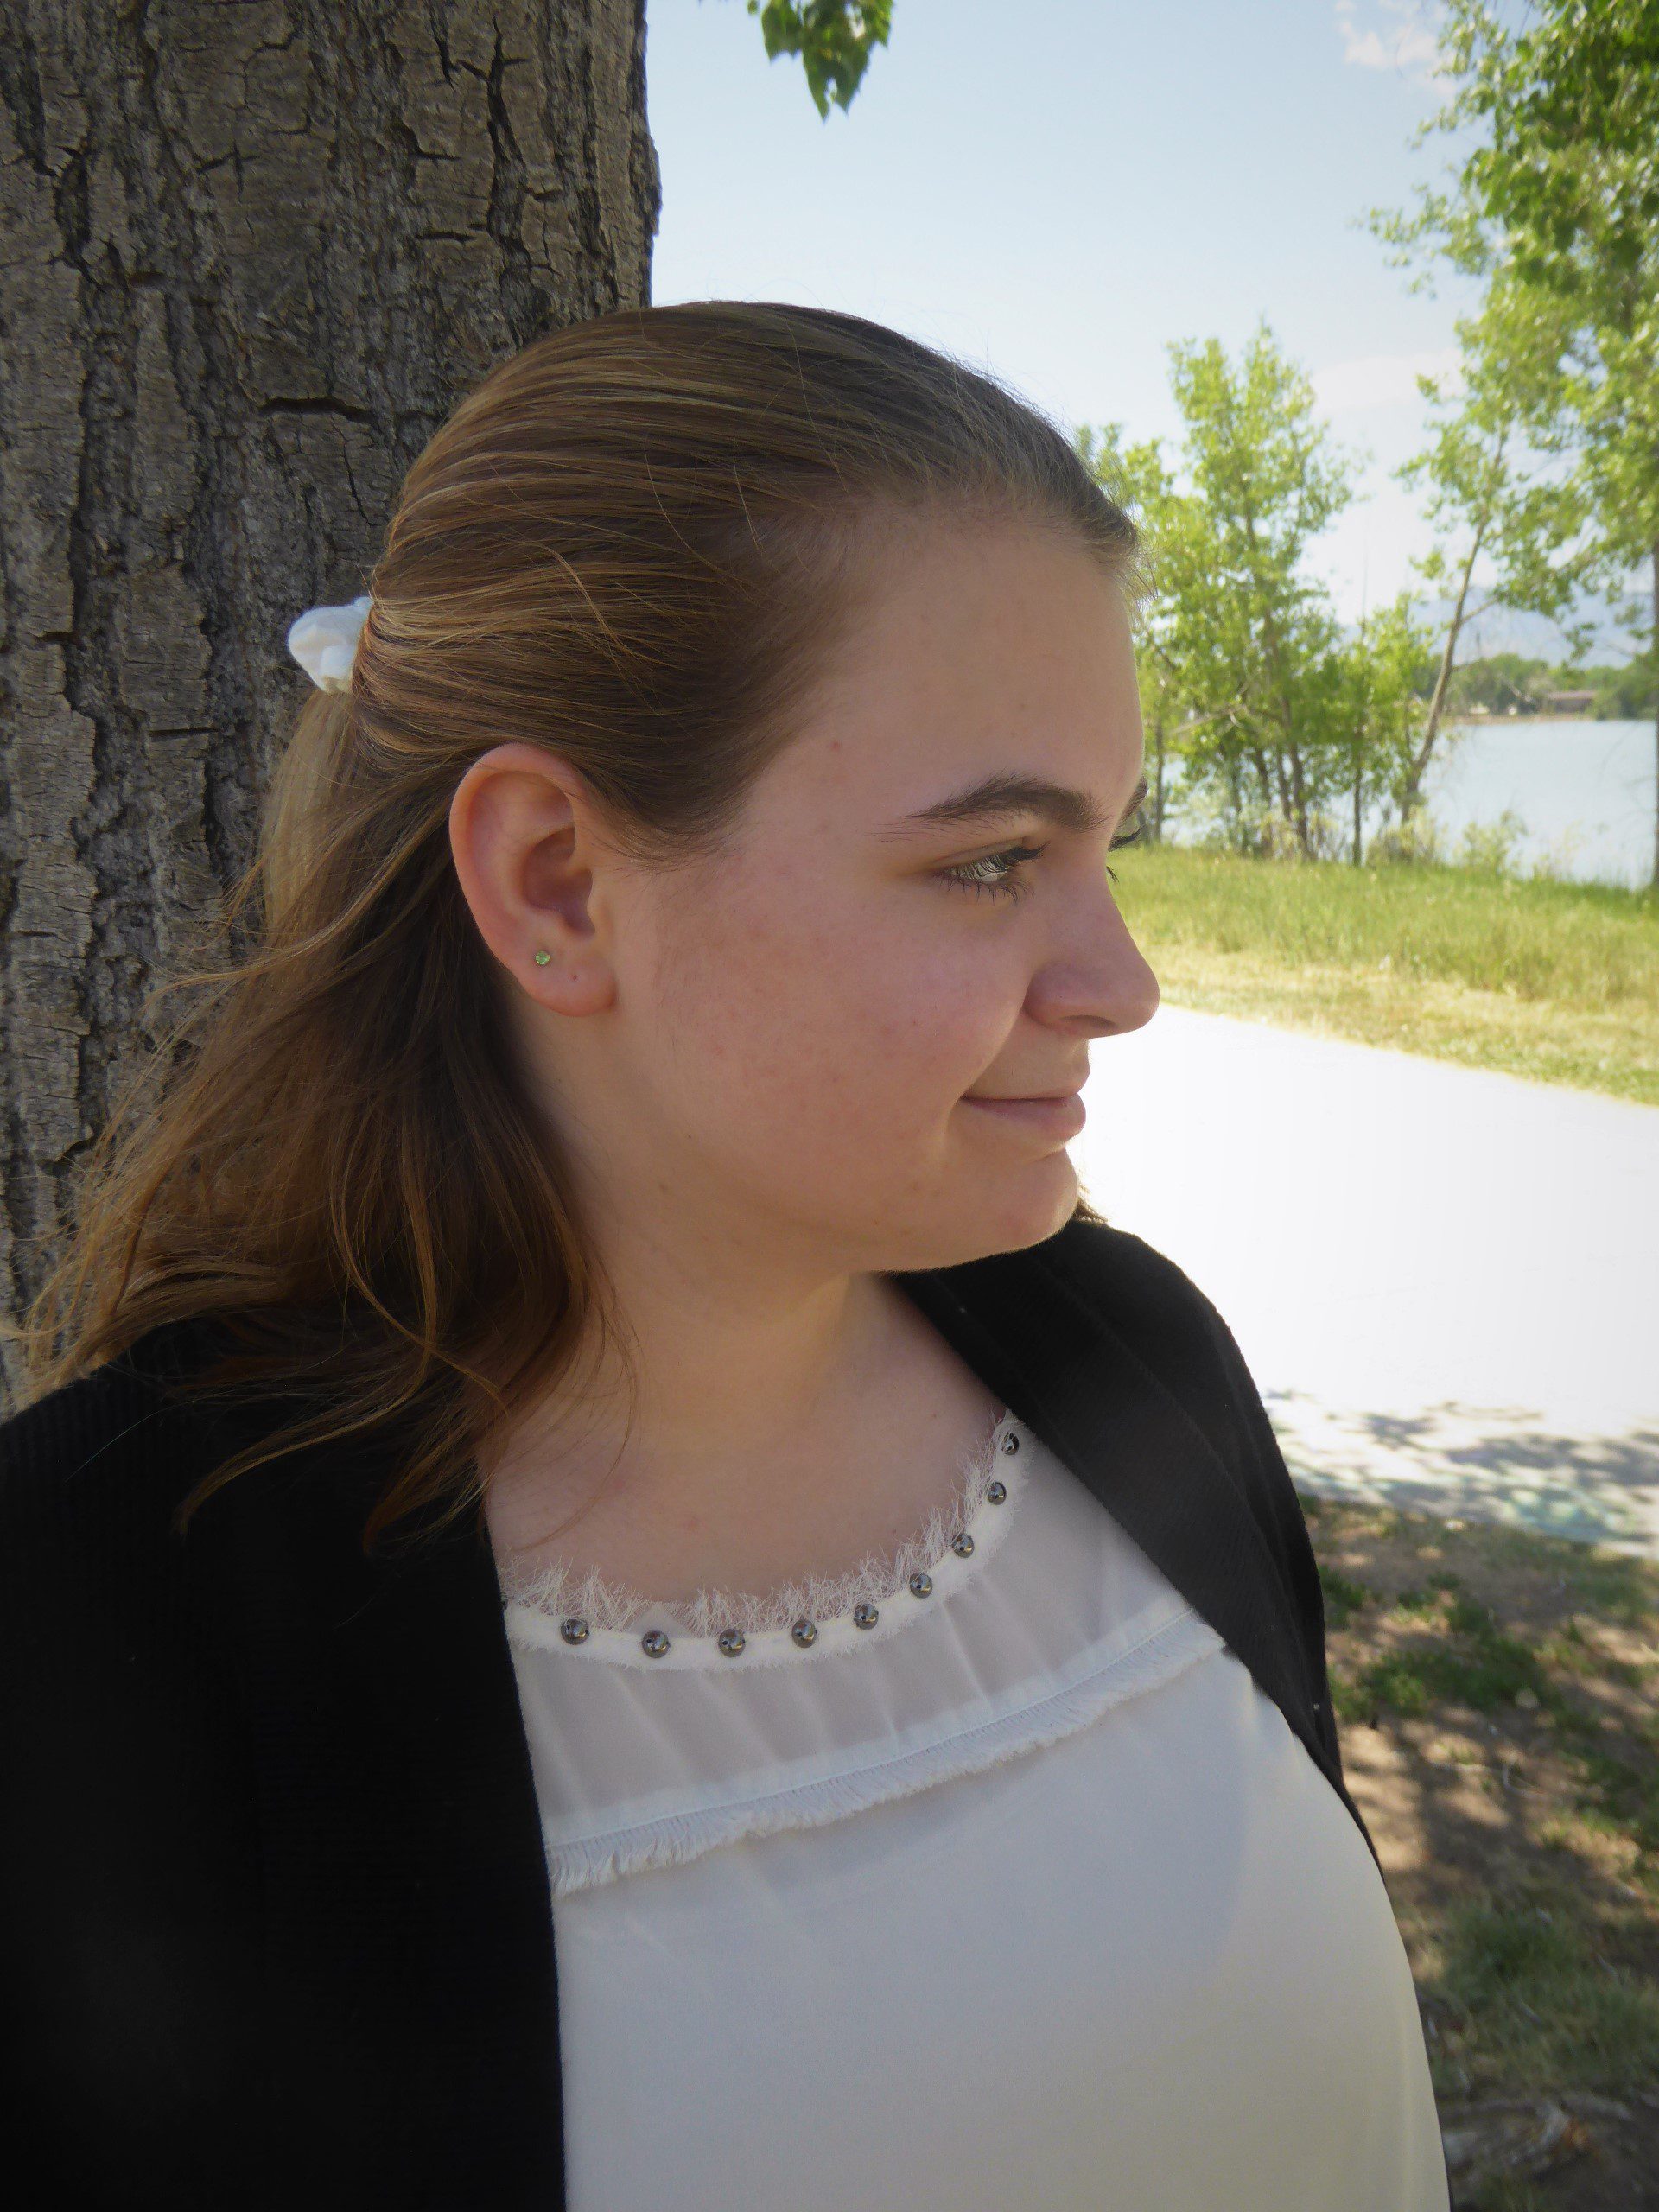
In this first shot, Grace has serious ‘raccoon eyes’ and shadows all over her face.
In the second shot – under the shade of a tree, Grace has no shadows on her face.
Anywhere the light is even, such as under a tree, under an awning or tent, etc.. is better than full overhead sun!
C. Focus on patterns:
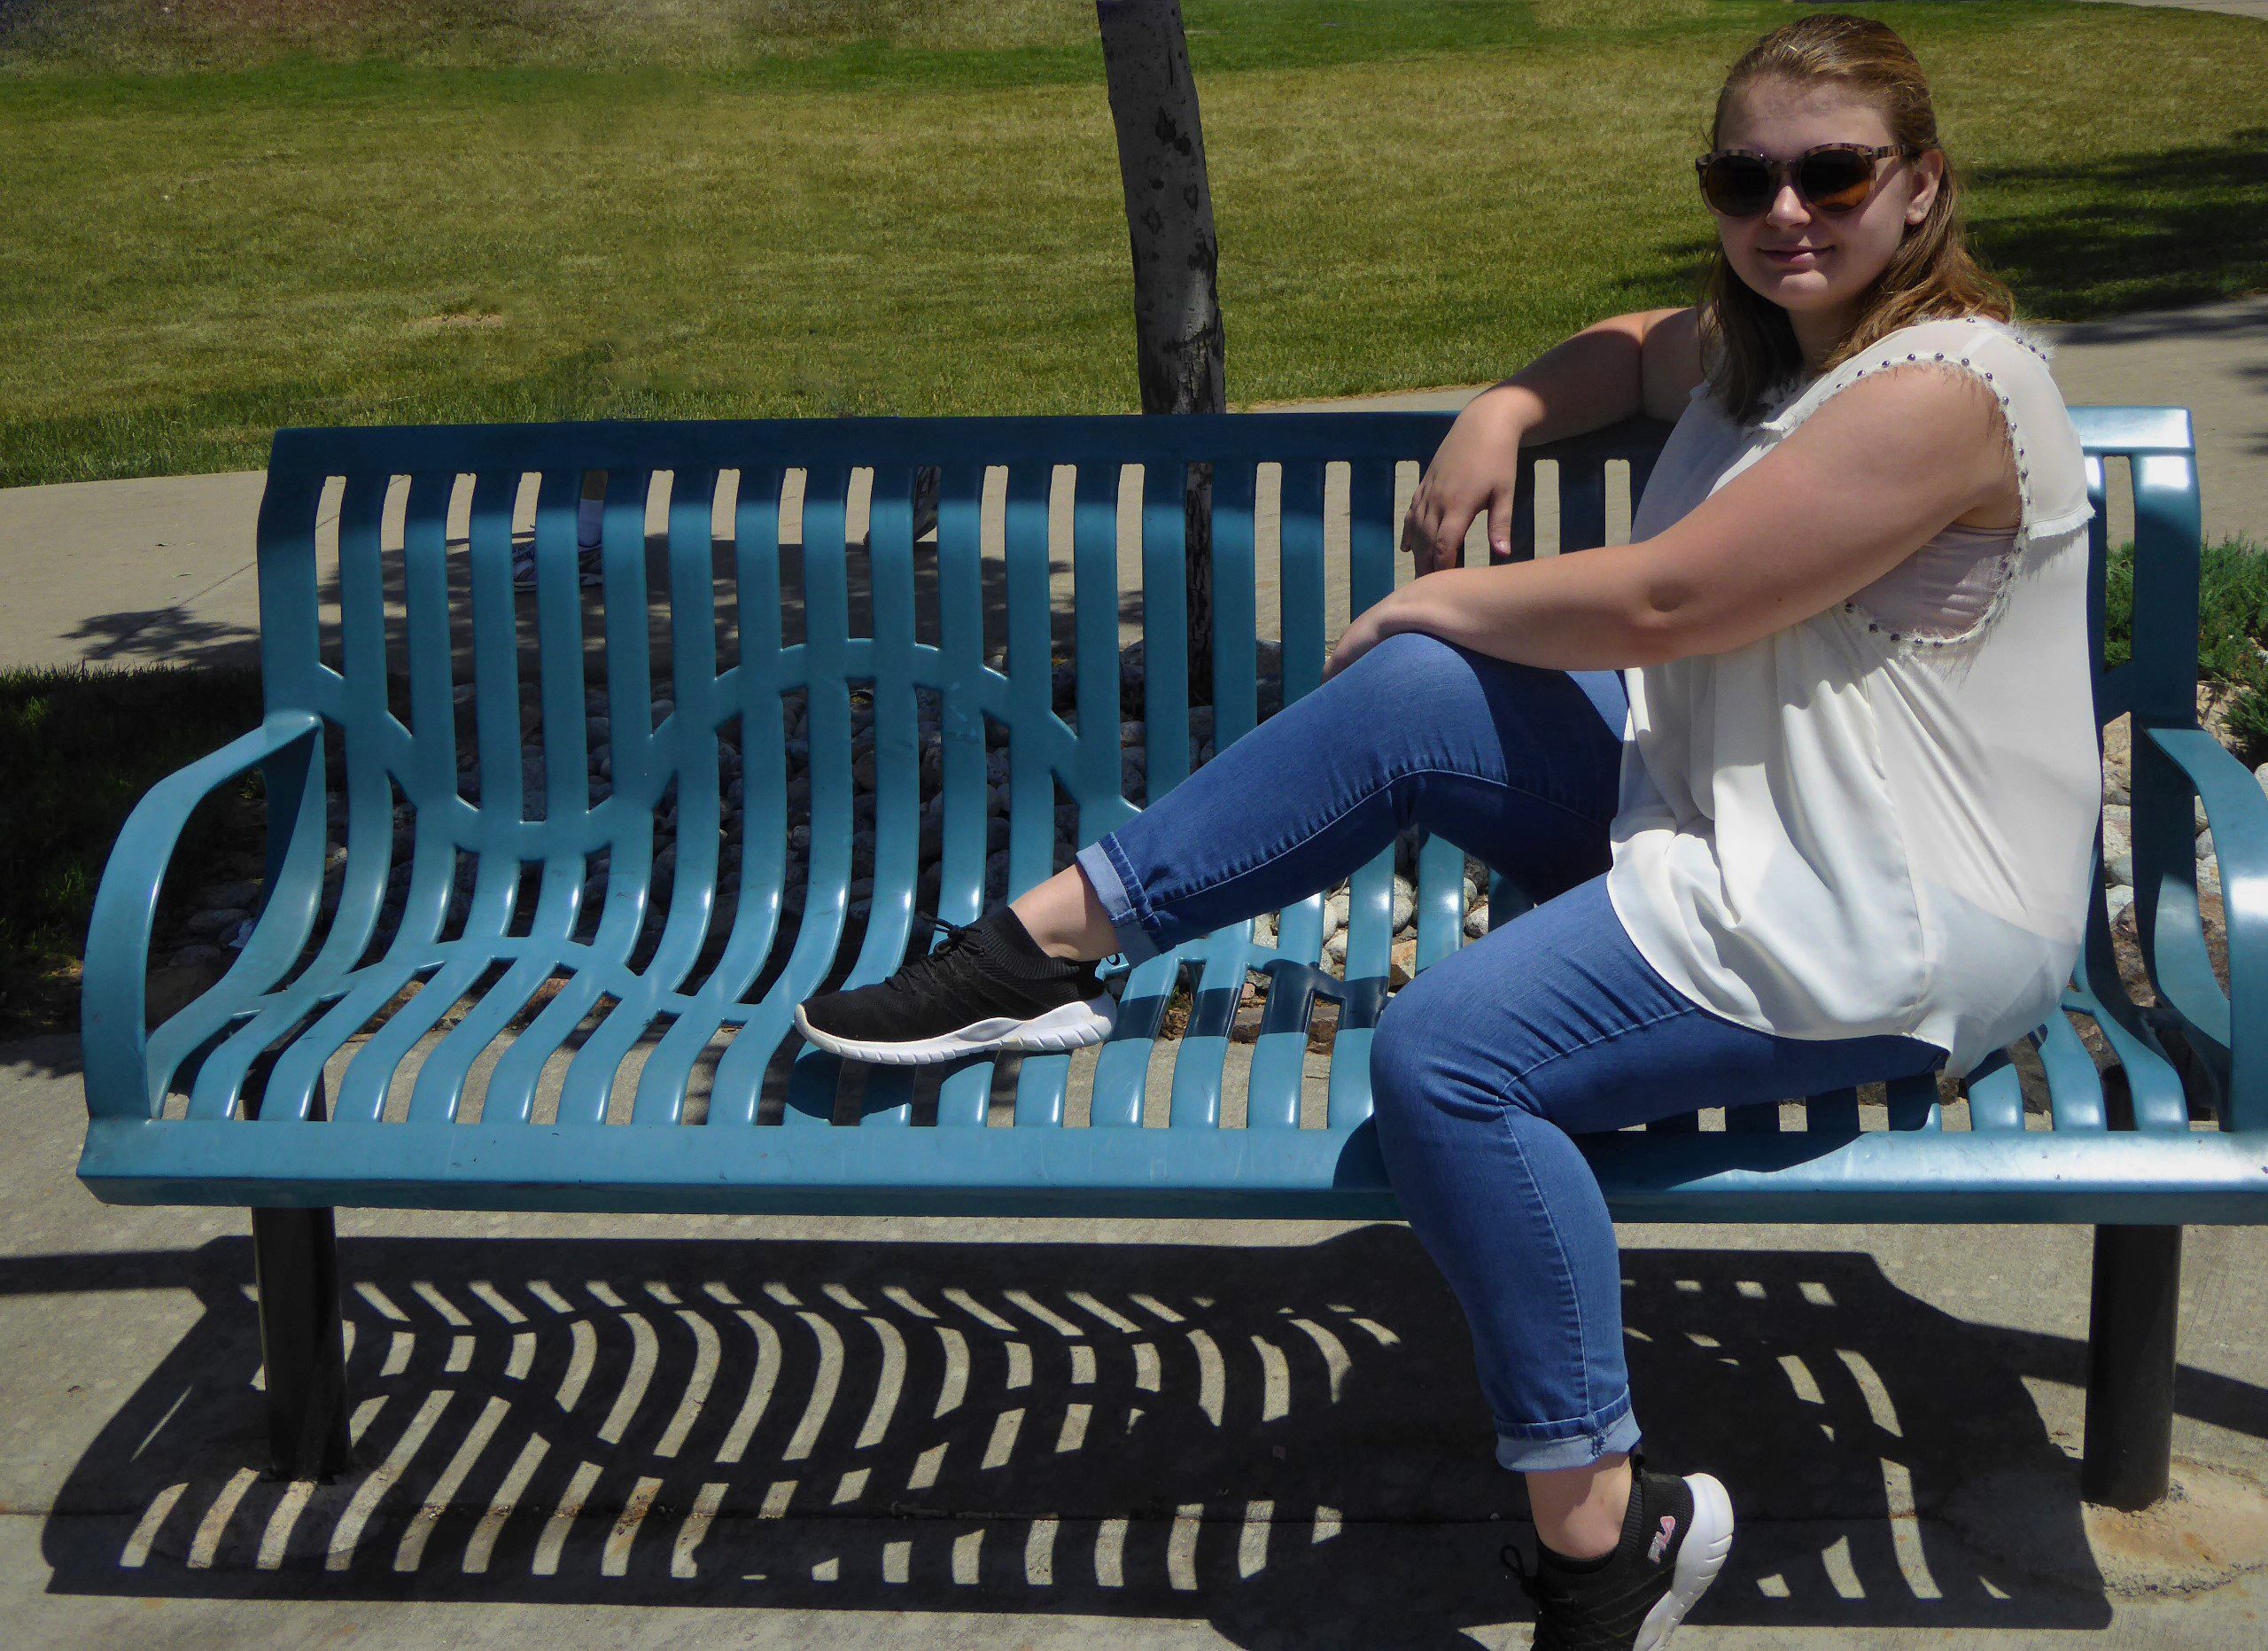
Patterns, as we’ve learned, are creative and eye-catching. Use patterned shadows as the focal point.
D. Have your subject look to the side:


In bright light, having your subject looking straight at you can leave some not-so-great shadows and color distortions. See how much difference this little change of position can make!
E. Use a reflective surface or exterior lighting:
Using an external flash can help minimize shadows, but unless you want to carry one around, the next best thing is to try and use reflective surfaces. These can be glass buildings, mirrored or windowed surfaces, or steel structures.


Just make sure that you stand where you can use the surface to reflect the light!
F. Use back-lighting to force shadows and create silhouettes * Use back-lightening to create intentional sun flares:
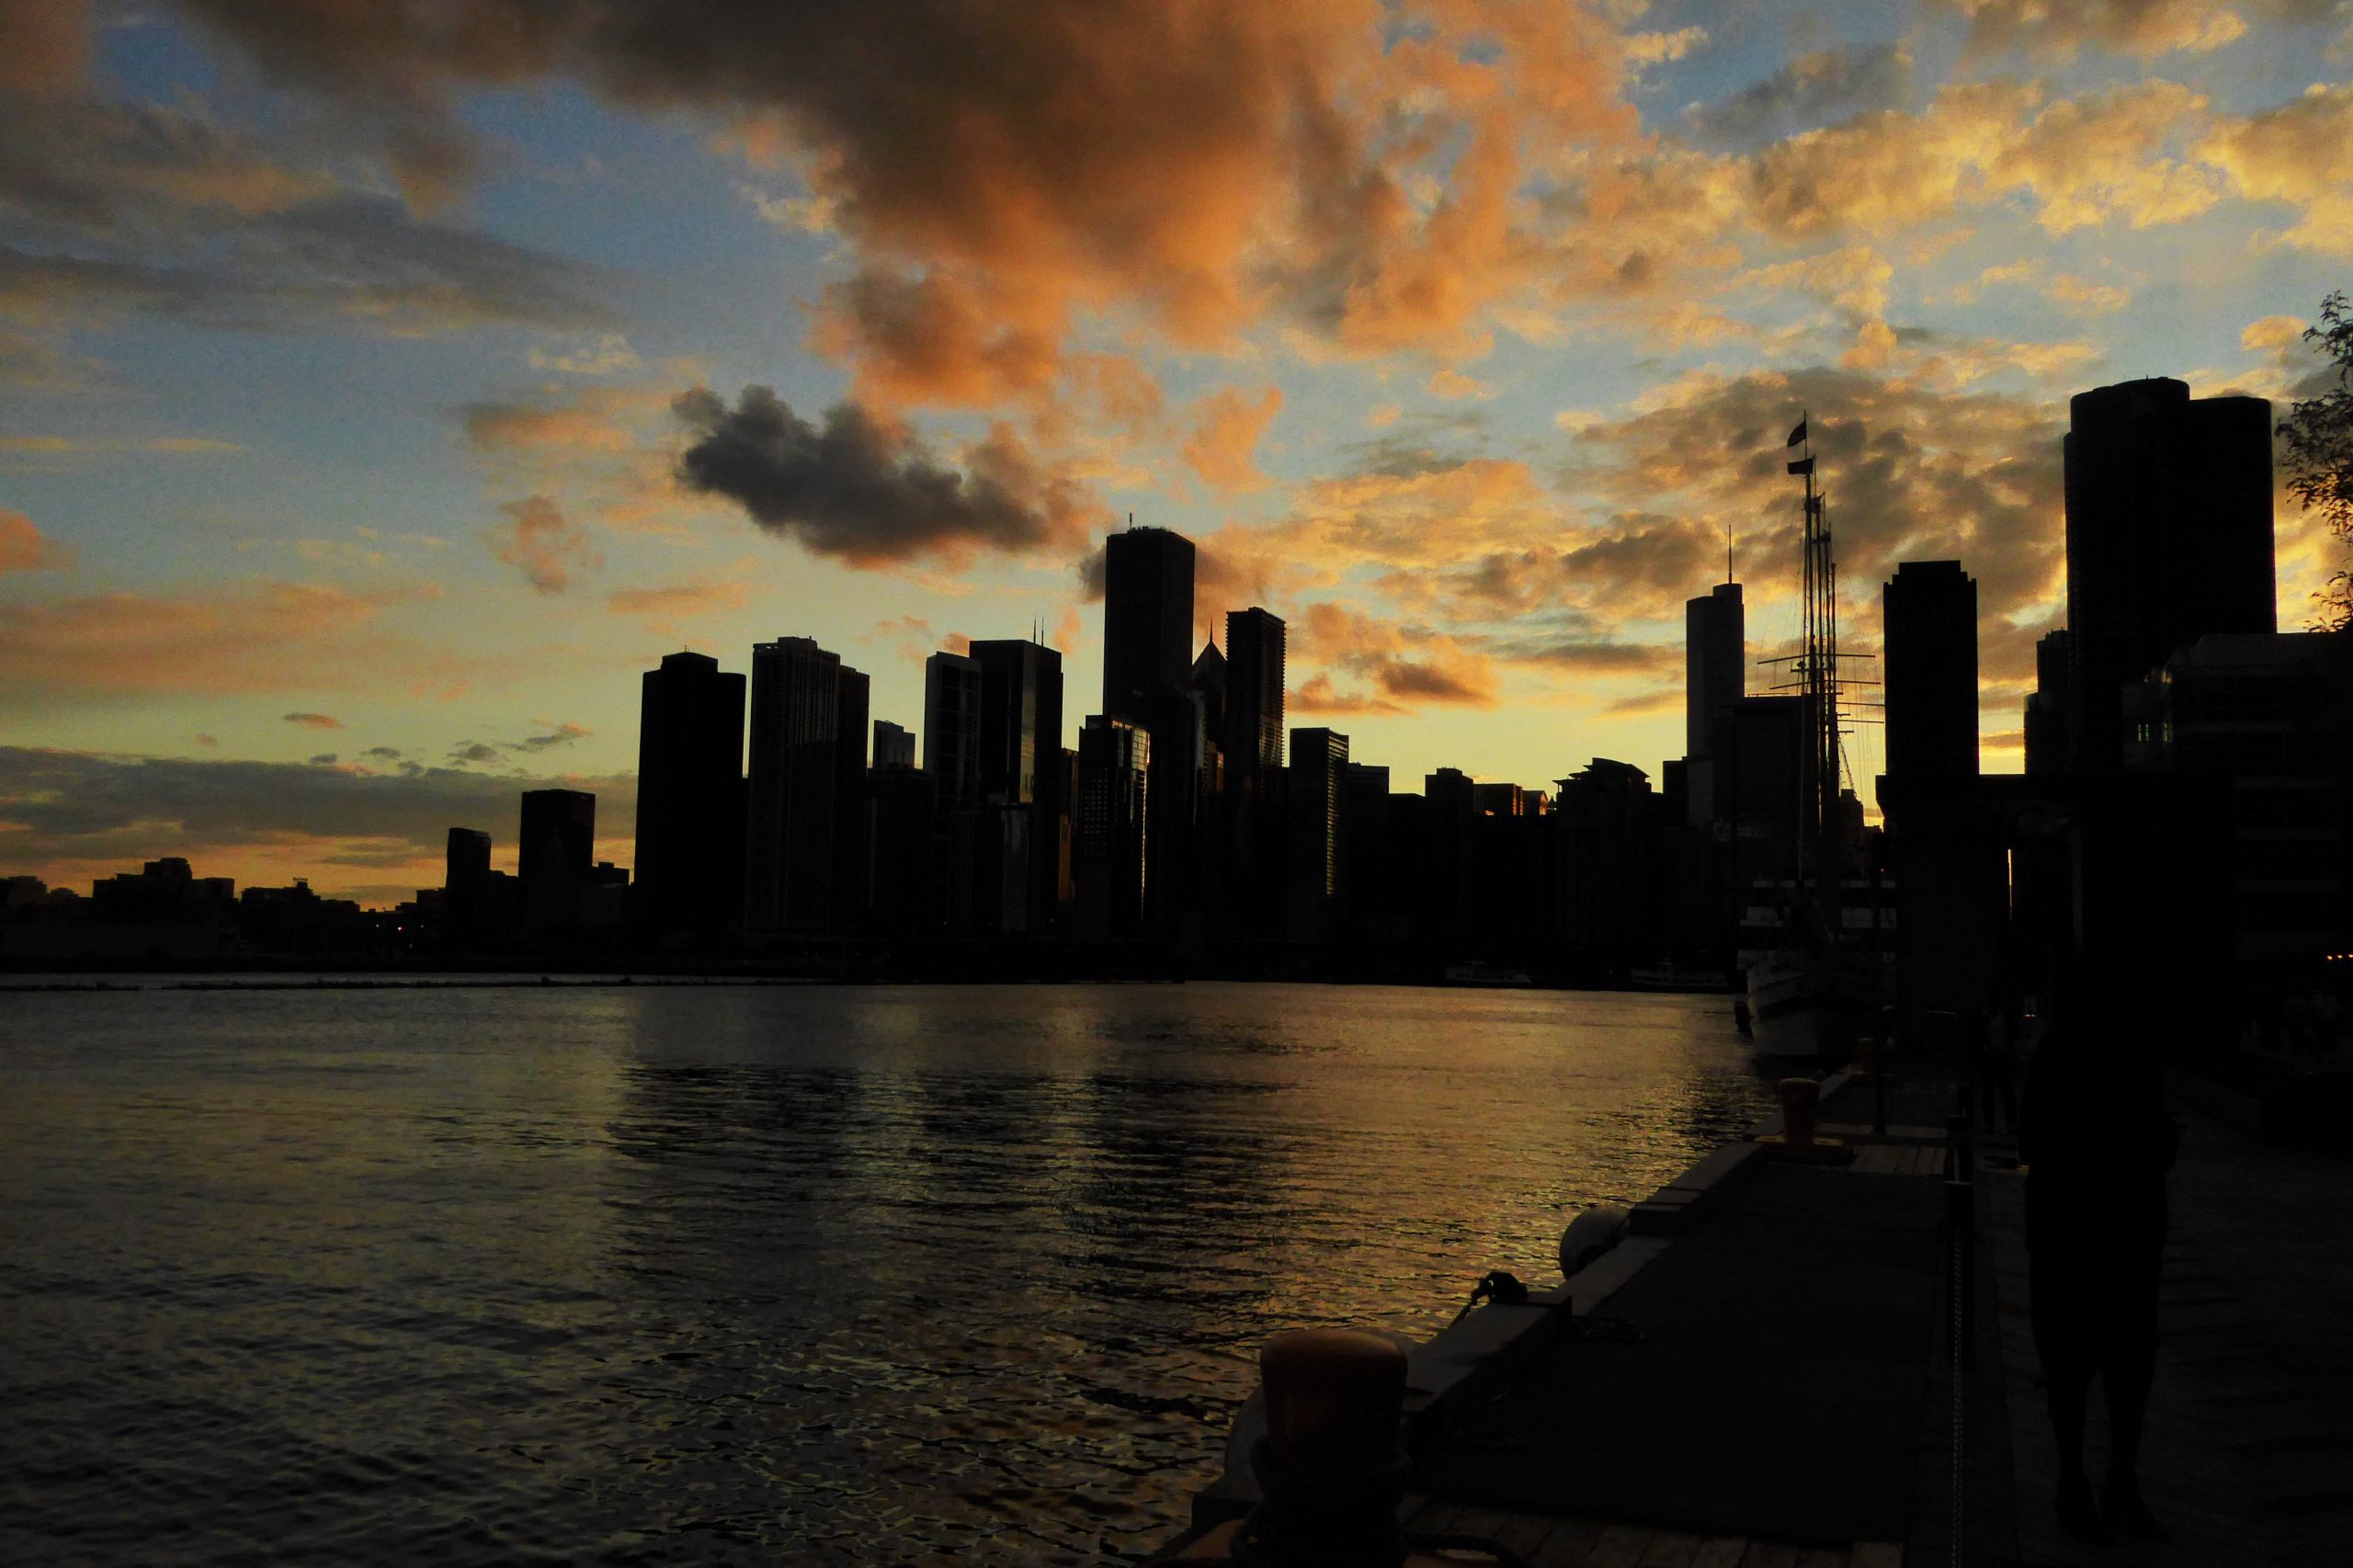

There’s just no end to the creativity you can use – even with just a point-and-shoot camera!
**************************************************
Well there you have the tips that I consider most important. There are LOTS more (at least 30!), and we’ll be covering more as time goes on, but this is a great place to start! You can use all these tips even if you don’t have an SLR or big bodied camera. And cellphones these days take amazing photos, so get out there and capture the world!
For the Homepage of this Website, Click HERE, & remember to subscribe and leave a comment. I’d love to hear from you!
HOW TO NAVIGATE THIS WEBSITE CLICK HERE